
Claude Code + shadcn/ui: How to set up the MCP Server
Connect Claude Code to shadcn/ui by running the official MCP initialization command from your frontend project. Restart Claude Code, inspect /mcp, then verify a registry query and a single-component installation. The official shadcn/ui MCP documentation describes this setup route; you should prioritize it before considering third-party server implementations. Learn how to integrate Claude Code with shadcn/ui step by step, covering manual configuration, component installation, private registries, and troubleshooting.
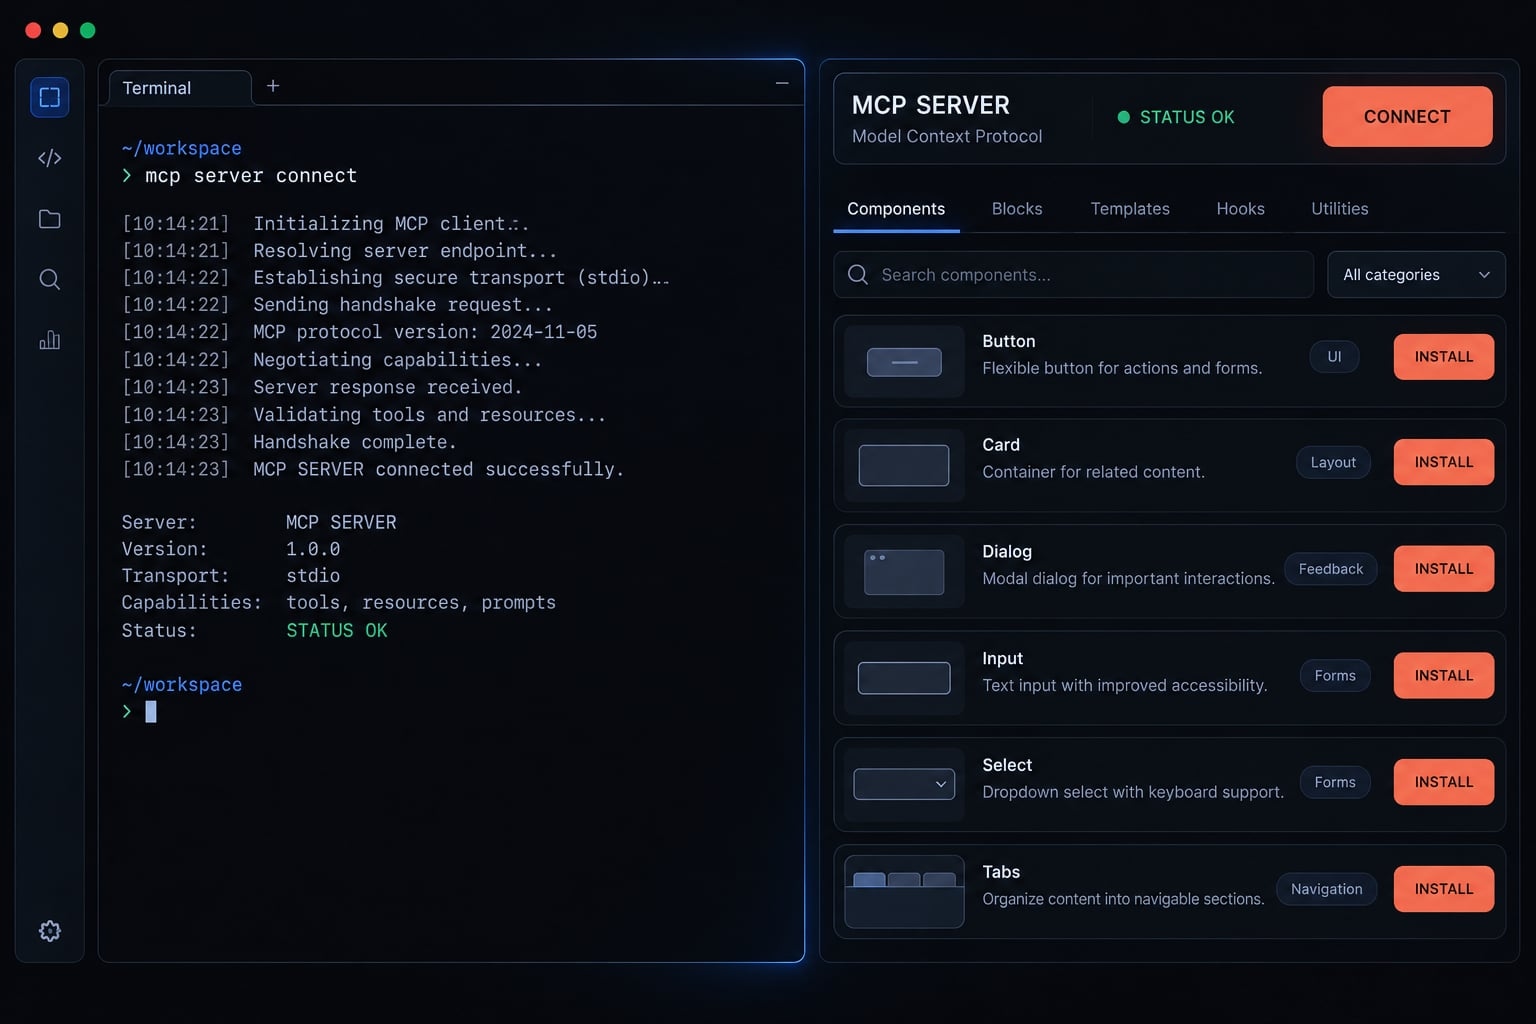
Quick setup: Connect Claude Code to shadcn/ui
Check the minimum requirements
- Open the intended frontend project. Use a compatible React-based application with Claude Code installed and authenticated. Your Node.js version must meet the requirements of the installed Claude Code and shadcn CLI releases.
- Run these checks in your terminal:
node --version
pnpm --version
claude --version
npx --version
- Each command should report a version. This checks executable availability, not Claude Code authentication. The
npxcheck also supports the manual configuration described below. - Confirm that shadcn/ui is initialized. Component installation needs a valid
components.jsonand the framework-specific configuration described in the shadcn/ui installation documentation. MCP initialization does not replace that setup.
Initialize the shadcn MCP Server
- Run the initializer from the project root:
pnpm dlx shadcn@latest mcp init --client claude - Inspect the resulting project-level
.mcp.json. It should contain the intendedshadcnserver definition. Review the diff, especially if other MCP servers already exist; do not assume configuration changes preserved everything correctly.
Restart Claude Code and check the connection
- Restart Claude Code from the same project. Review any project trust or MCP configuration approval presented by your installed version.
- Inspect the live session. Enter this command inside Claude Code, rather than your standard terminal shell:
/mcp - Confirm that the
shadcnserver is listed and connected. A connection alone does not establish installation readiness.
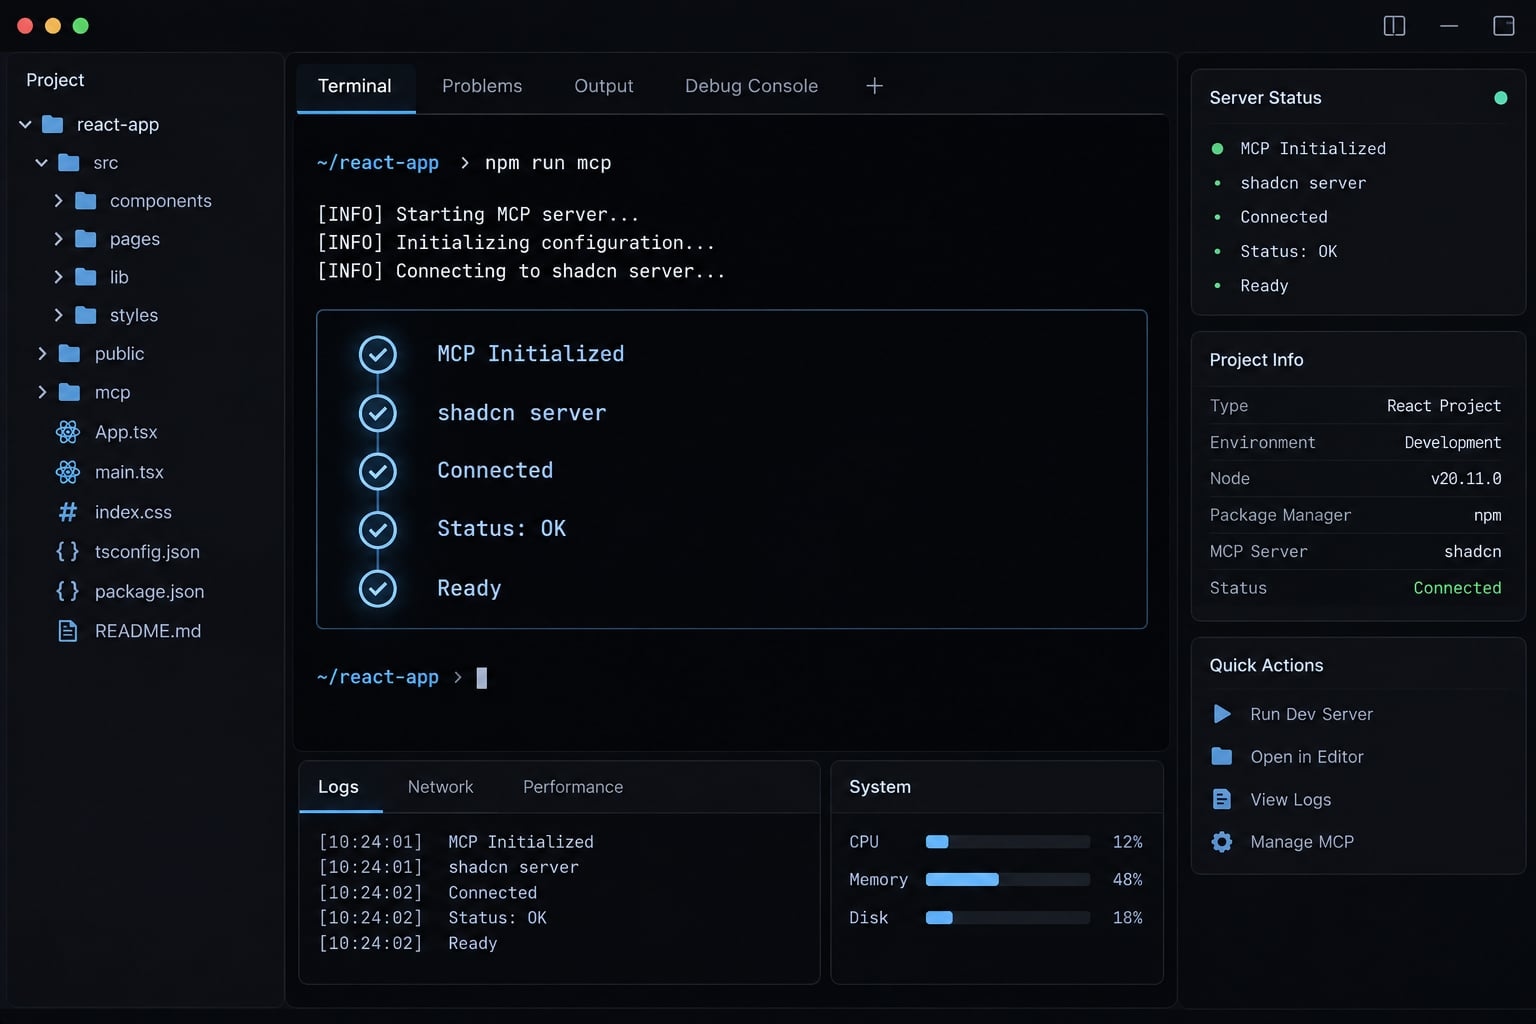
Run a smoke test
- Check registry access: Use the shadcn MCP tools to list available components in the official registry.
- Check installation separately:
Find button in the official registry. Show the installation command,
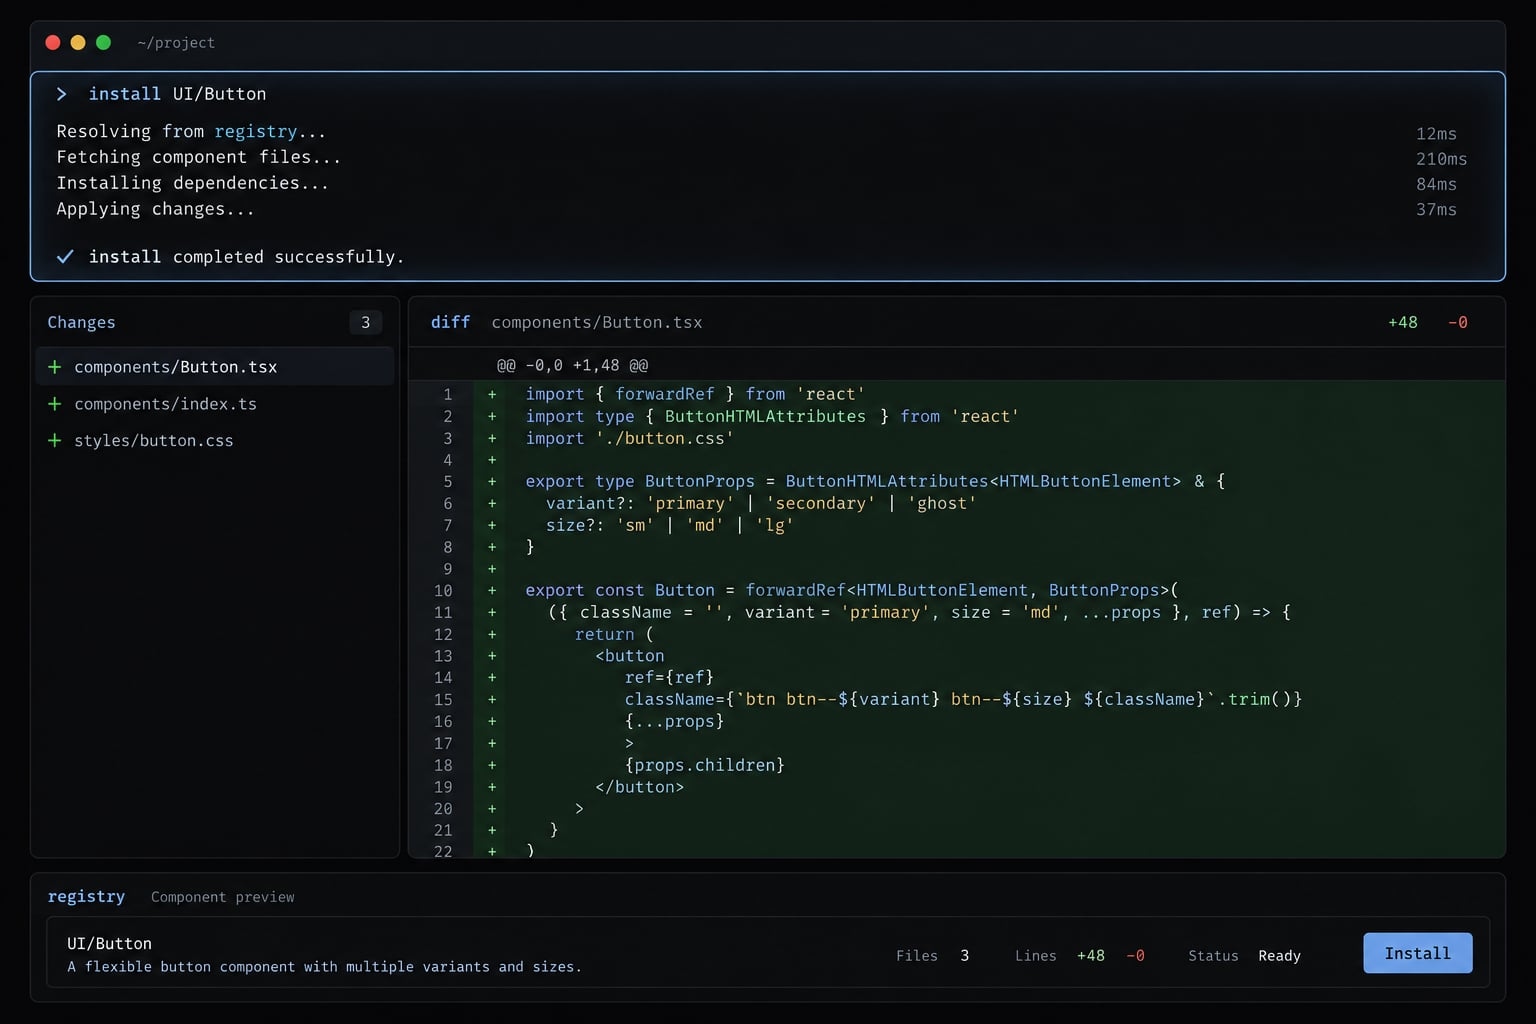
then wait for confirmation before executing it.- After execution, review the component files, dependency changes, and any configuration edits. Both checks must succeed before treating the setup as complete.
What the shadcn MCP Server does and what it does not do
The shadcn MCP server gives Claude Code registry-related tools for discovering components and retrieving information before installation. It supports a registry-aware workflow rather than relying exclusively on remembered examples. MCP (Model Context Protocol) is the standard for tool connectivity—not a package manager, UI library, or guarantee of correct generated code.
Supported actions
The official shadcn/ui MCP documentation describes workflows that let an agent:
- Browse or search a component registry.
- Retrieve item details and usage information.
- Identify installation targets and obtain installation commands.
- Access compatible registries configured for the project.
Private sources also require supported registry configuration and valid authentication. Connecting the server does not grant access to restricted content. Registry information can reduce dependence on stale model knowledge. It cannot ensure that Claude selects the right component or uses every property correctly.
How the workflow operates
Request
   ↓
Registry lookup through MCP
   ↓
Item selection
   ↓
Installation command
   ↓
Execution permitted by Claude Code's controls
   ↓
Diff review and application checks
Claude Code is the agent/client. The MCP server supplies registry tools. The shadcn CLI performs component operations, including installation, when invoked through the agent’s execution workflow.
- Not every MCP tool writes files. Finding an item, installing it, and composing a page are separate actions.
- Installation is not feature completion. Application behavior, dependency inspection, accessibility checks, and testing remain your responsibility.
Configure shadcn MCP manually in .mcp.json
Manual shadcn MCP setup is an alternative to the initializer, not a second mandatory installation. It is useful when reviewing configuration or adding shadcn alongside existing servers.
Minimal Project-Level configuration
The official shadcn/ui MCP documentation provides this project configuration pattern:
{
  "mcpServers": {
    "shadcn": {
      "command": "npx",
      "args": ["shadcn@latest", "mcp"]
    }
  }
}
Place .mcp.json in the intended project root.
mcpServerscontains server definitions.shadcnis the configured server name.commandidentifies the executable Claude Code launches.argssupplies that executable’s arguments.
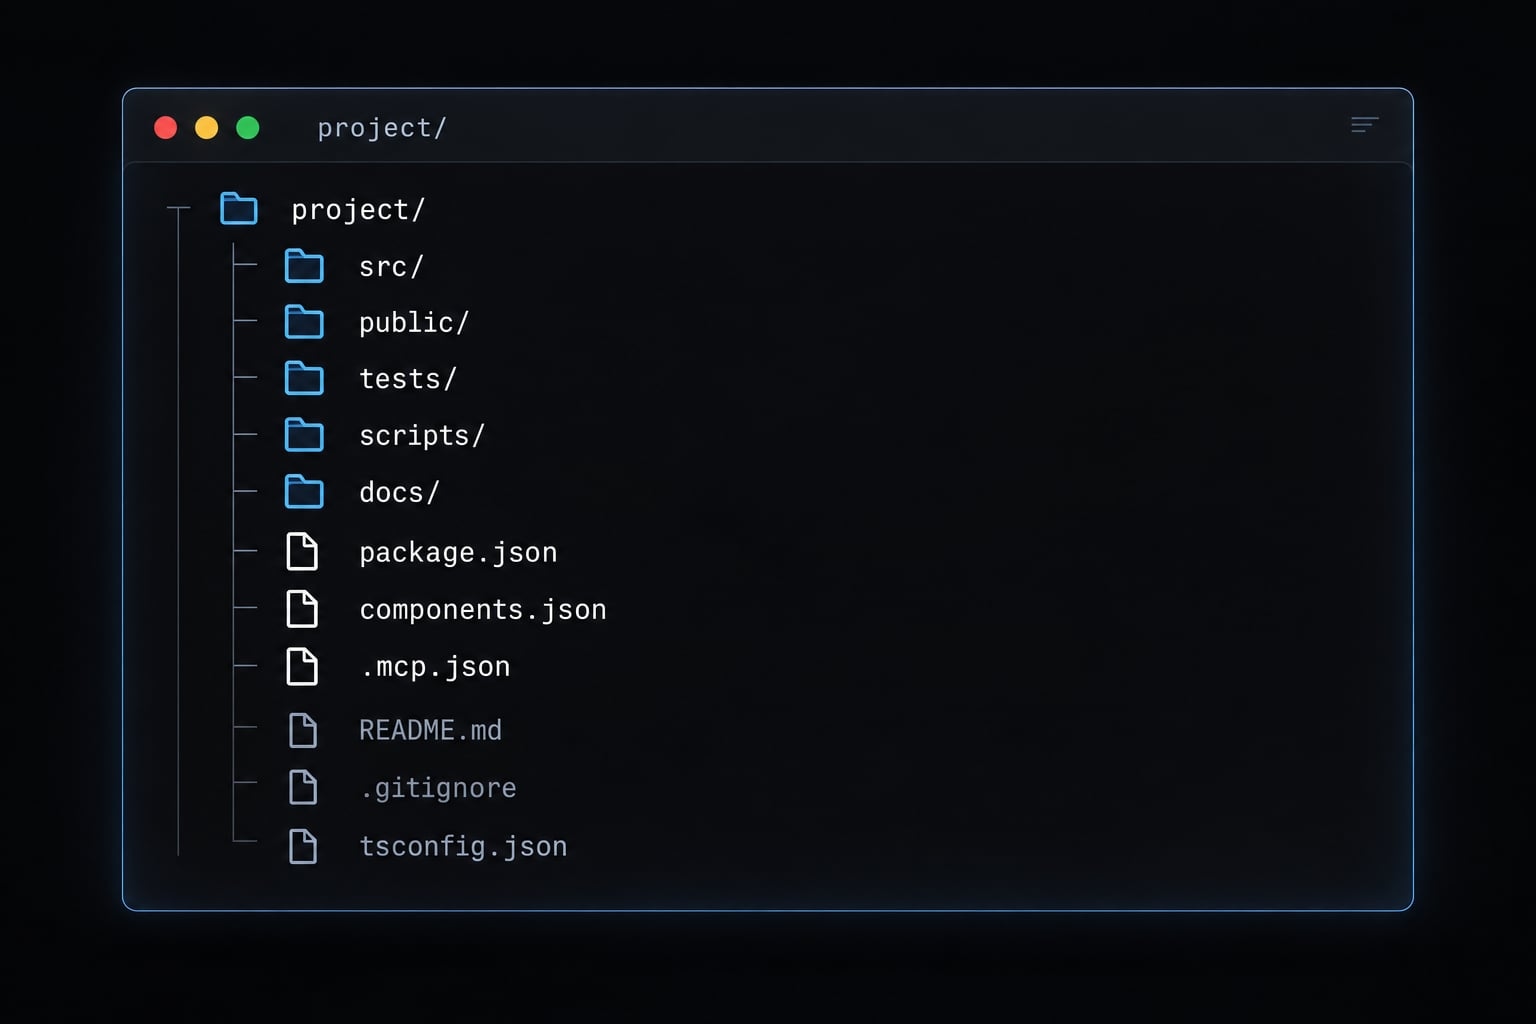
The initializer uses pnpm in this guide, while this server definition launches npx. These are separate execution steps. Having pnpm available does not prove the configured server can launch.
Merge the shadcn entry into existing configuration. Do not replace another server’s settings. JSON must contain no comments, trailing commas, or duplicate keys.
On an uncached system, npx may need to retrieve the package. Network restrictions or a package-runner confirmation can affect startup. Inspect startup diagnostics rather than assuming a disconnected server indicates malformed JSON.
Do not add flags or optional properties speculatively. Follow the current package-runner and shadcn documentation for any required adjustment.
Verify that Claude Code loaded the file
- Confirm
.mcp.jsonbelongs to the project you opened. - Validate its JSON structure.
- Restart Claude Code from that project.
- Resolve applicable project-configuration approval.
- Inspect
/mcpand run a registry query.
If the server is absent, investigate loading and scope before changing registry settings.
Project-Level vs User-Level configuration
The official Claude Code MCP documentation distinguishes these scopes:
Scope | Purpose |
|---|---|
User | Personal server configuration available across projects |
Project | Repository-shareable configuration through |
Local | Developer-specific configuration for one project |
Project-scoped does not mean automatically committed or automatically approved by teammates. Review shared server definitions as executable configuration. Keep credentials out of committed configuration. Share repeatable connection settings while provisioning secrets separately.
Browse and Install shadcn components with Claude Code
To install shadcn components with Claude Code reliably, first confirm the registry source and exact item name. A plausible component description is not evidence that a matching item exists.
Browse and search the registry
Start with a functional request:
Find components suitable for an account settings form.
Return exact item names and their registry sources.
Then narrow the source:
Search the official shadcn registry for button, input, and label.
Confirm which items are available before proposing installation.
Check the returned names before proceeding. A request such as “find a login form” may identify several options-or no suitable block.
Install one or multiple components
Use a single-item request for the first installation:
Add button from the official shadcn registry.
Once the component slugs are verified, batch related items:
Add the verified button, input, and label items from the official registry.
Keep execution review explicit:
Show the proposed installation command and dependency changes first.
Wait for confirmation before executing it.
Claude Code’s permission settings determine execution controls; conversational instructions are not a substitute for those controls.
- Installation targets use lowercase slugs such as
button. React code may import an identifier such asButton. - File placement depends on
components.json, aliases, and applicable registry target paths. Do not assume every project writes components to the same directory.
Compose a page using installed components
After installation, request composition separately:
Build an account settings page using the installed components.
Follow existing styles and design tokens.
Do not overwrite local customizations without confirmation.
Report additional dependencies and every changed file.
Keep backend integration points explicit.
Adding UI components does not implement form submission, authentication, persistence, or authorization. For example, a disabled account-deletion button is not a server-side permission check.
Review changes before accepting them
Inspect:
- Registry provenance and item selection.
- New dependencies and lockfile changes.
- Import aliases and destination paths.
- Overwrites, removed code, or unrelated edits.
- Existing lint, type-check, and test scripts.
- Keyboard navigation, labels, focus, and responsive layout.
Use the scripts your project actually defines in package.json. Compilation alone does not establish usable or secure behavior.
Official shadcn MCP vs Third-party registry options
The official shadcn MCP implementation is the default for this guide. A third-party registry and a third-party MCP server are different things: one supplies component content; the other exposes tools to the agent.
A compatible registry may work through the official server without another server installation. Conversely, a provider-specific implementation may expose features beyond ordinary registry access.
Option | Best for | Cost model | Credentials | Selection guidance |
|---|---|---|---|---|
Official shadcn/ui MCP | Standard registry discovery and installation workflows | Open-source tooling; external catalog terms remain separate | Public official items generally need no registry credential; private sources may | Start here |
Third-party registry through the official server | Additional compatible component catalogs | Depends on provider, catalog, and content license | Depends on registry authentication requirements | Confirm compatibility and access terms |
Community MCP server | Documented capabilities unavailable through the default route | Depends on implementation and connected services | Depends on the implementation | Review maintenance, permissions, and provenance |
Free tooling does not imply unrestricted component licensing. Review the catalog’s redistribution terms and commercial-use conditions independently of server installation.
No provider-specific pricing or token requirement is assumed here. In particular, similar branding does not establish affiliation with the official shadcn/ui project.
Simple selection rule:
- Start with the official server and test the required registry through it.
- Add a provider-specific server only when the provider’s documented workflow requires it or offers a necessary capability.
- Give separately configured servers distinct names. When several sources expose similar tools, specify the intended server and registry in your request.
Before installing a community MCP server, inspect what executable it launches and which credentials it receives. An additional server expands the code and permissions your team must review.
Configure private and namespaced registries securely
A namespaced registry identifies where an item should come from. It does not enforce authorization by itself. Access still depends on the registry endpoint, credentials, permissions, and any catalog entitlement.
Add namespaced registries in components.json
.mcp.json configures the MCP connection. components.json configures shadcn project behavior, including aliases and supported registry settings.
Merge into your existing components.json:
{
  "registries": {
    "@internal": {
      "url": "https://components.example.com/r/{name}.json",
      "headers": {
        "Authorization": "Bearer ${REGISTRY_TOKEN}"
      }
    }
  }
}
This is a partial merge example, not a replacement file. Preserve current aliases and other fields.
The official shadcn registry documentation describes named registry templates and environment-variable references in authentication headers. Here, @internal identifies the registry, {name} represents the requested item, and ${REGISTRY_TOKEN} references its credential.
Replace the reserved example endpoint with your approved private component registry.
Use environment variables for credentials
Provision credentials through your team’s secret manager or an approved non-echoing input mechanism. Avoid entering literal tokens into commands that shell history may retain.
The process performing authenticated requests must receive REGISTRY_TOKEN. That can include the MCP server and a separately launched installation command.
- Launch Claude Code after provisioning the environment, or restart it.
- Do not assume arbitrary
.envfiles are loaded automatically. - Exclude secret-bearing local files from version control.
- Use least-privilege credentials.
- Never paste tokens into prompts, screenshots, or diagnostic reports.
Environment variables reduce repository exposure; they do not hide secrets from every process, tool, or log. Rotate or revoke leaked tokens rather than merely deleting the visible text.
Prompt Claude Code with an explicit namespace
Find an approved account settings item in @internal.
Return its exact namespaced identifier.
Install the verified @internal item. Show the command and expected
affected files first, then wait for confirmation.A complete pre-execution file preview may be unavailable. Always inspect the post-install diff, including dependencies and overwritten files.
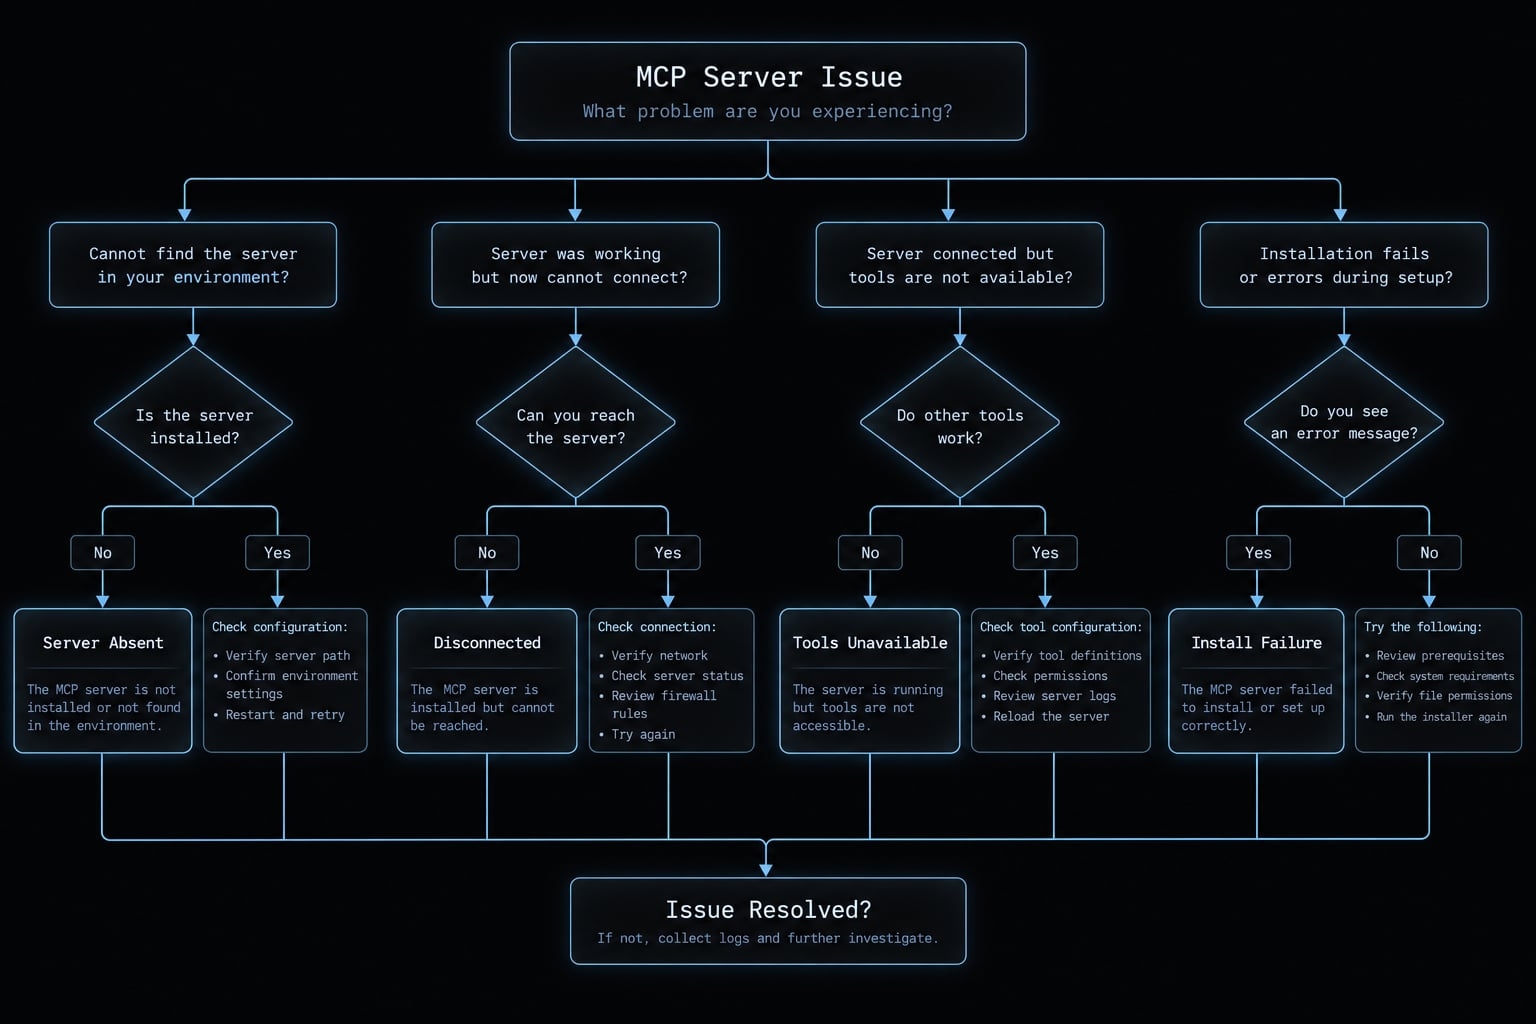
Common Claude Code shadcn MCP problems and fixes
When shadcn MCP is not working, identify the failed layer: configuration loading, server startup, tool access, registry access, or installation. Start with visible evidence and reversible checks.
Symptom | Likely cause | First safe fix |
|---|---|---|
Server absent | Wrong project, invalid JSON, or pending approval | Check the active project, |
MCP server disconnected | Missing executable or startup failure | Inspect startup output, executable availability, and arguments |
Tools unavailable | Failed connection or restricted tool access | Check server status and documented permission or enablement controls |
Browse succeeds; install fails | Unprepared project or write/path issue | Inspect |
Private registry rejects access | Authentication, authorization, or entitlement issue | Check status details and environment inheritance; |
Wrong registry used | Ambiguous source selection | Specify the server and namespace; inspect configured registries |
| Missing npm tooling or different process | Check Node.js/npm installation and the launching environment |
Item not found | Wrong slug, namespace, or endpoint | Confirm the exact identifier and registry URL template |
Unexpected destination | Alias or target-path configuration | Inspect project aliases and registry item destinations |
Failure after update | Version or configuration incompatibility | Restart, compare versions and logs, then apply a targeted documented fix |
A registry authentication error is not automatically an expired token. A valid credential may lack access to a particular item. Likewise, a component installation failure after successful browsing points beyond basic MCP connectivity.
Diagnostic commands
Run these in your terminal:
node --version
npx --version
claude mcp list
claude mcp get shadcn
Version checks establish executable availability. Claude Code’s MCP inspection commands show configured server details; use the server’s actual name if you changed it.
If your installed release does not recognize a command, inspect its local help and matching Claude Code documentation before proceeding.
Use /mcp inside Claude Code for live-session inspection. Sanitize diagnostic output before sharing it.
Avoid deleting lockfiles, reinstalling every dependency, clearing broad caches, disabling permissions, or replacing configuration wholesale. Those actions can obscure the original failure.
Final setup checklist
- Required toolchain commands are available.
- Claude Code is authenticated.
- The project is prepared for shadcn installation.
- MCP configuration is valid.
- Configuration is approved where required.
- Claude Code has been restarted.
- The server is connected.
- A registry query succeeds.
- A component is installed and reviewed.
- Credentials are excluded from version control.
Frequently asked questions
What is the primary purpose of the shadcn MCP server for Claude Code?
The shadcn MCP server allows Claude Code to directly access component registries and documentation. It enables the AI agent to search, preview, and install components into your project using natural language, ensuring that the components and props used are current and compatible with your existing project structure.
Is the shadcn MCP server required for all shadcn/ui projects?
No, the MCP server is optional. It is a tool designed to enhance the capabilities of Claude Code by providing real-time registry context. If you prefer to manage components manually via the shadcn CLI without AI assistance, you do not need to install or configure the MCP server.
How does Claude Code handle installation approval with MCP?
When you request a component installation through the MCP server, Claude Code retrieves the necessary install command from the registry. It will then present the specific command-including any registry tokens-for your review. The installation only proceeds after you explicitly approve the command within the Claude Code session.
Can I use private or company-specific registries with the shadcn MCP server?
Yes. You can configure private or namespaced registries in your project's components.json file. By setting up the appropriate registry URLs and providing necessary authentication through environment variables, the MCP server can query and install components from internal libraries just as it does with the public shadcn registry.
What should I do if the shadcn server appears disconnected?
First, verify that your project has a valid components.json file and that you are running Claude Code from the correct project root. Check your .mcp.json file for configuration errors, ensure your package runner is available, and verify that the server process is not being blocked by insufficient permissions or network issues.
Are installation results guaranteed to be production-ready?
No. While the MCP server helps pull the correct registry items, the generated code and component composition still require human review. You must verify dependencies, ensure the code adheres to your project's styling and accessibility standards, and perform thorough testing before deploying any AI-assisted changes to a production environment.
Read more:
- Claude Code sandbox: A guide to secure AI command execution
- Claude Code MCP configuration: A practical setup guide
- Claude Code hooks guide: Automate and control AI workflows
Conclusion
A reliable Claude Code shadcn setup follows a small, repeatable sequence: initialize the MCP connection, restart Claude Code, inspect /mcp, browse the registry, install one component, and review the changes. Keep project initialization separate from server configuration, and keep component installation separate from page composition.
Success requires both a working registry query and a reviewed installation-not merely a connected status. Check dependencies, aliases, local customizations, and application behavior before accepting generated changes.
Use the official server as the default. Add private registries or provider-specific servers only when your requirements justify them. For a reusable workflow, record the versions your team actually validates, preserve reviewed configuration, and provision credentials outside the repository. Those checkpoints make subsequent setups easier to reproduce without overstating what MCP guarantees.