Claude Code install guide: Official setup steps for all OS
Claude Code install: Official setup steps for macOS, Linux, WSL and Windows
When setting up Claude Code, the primary risk isn't technical complexity, but rather using outdated instructions, selecting the wrong shell, or skipping verification steps. This guide gives you the shortest official path to a working setup in the terminal, including prerequisites, install method selection, OS-specific commands, verification, login, first use, and fast fixes for common issues.
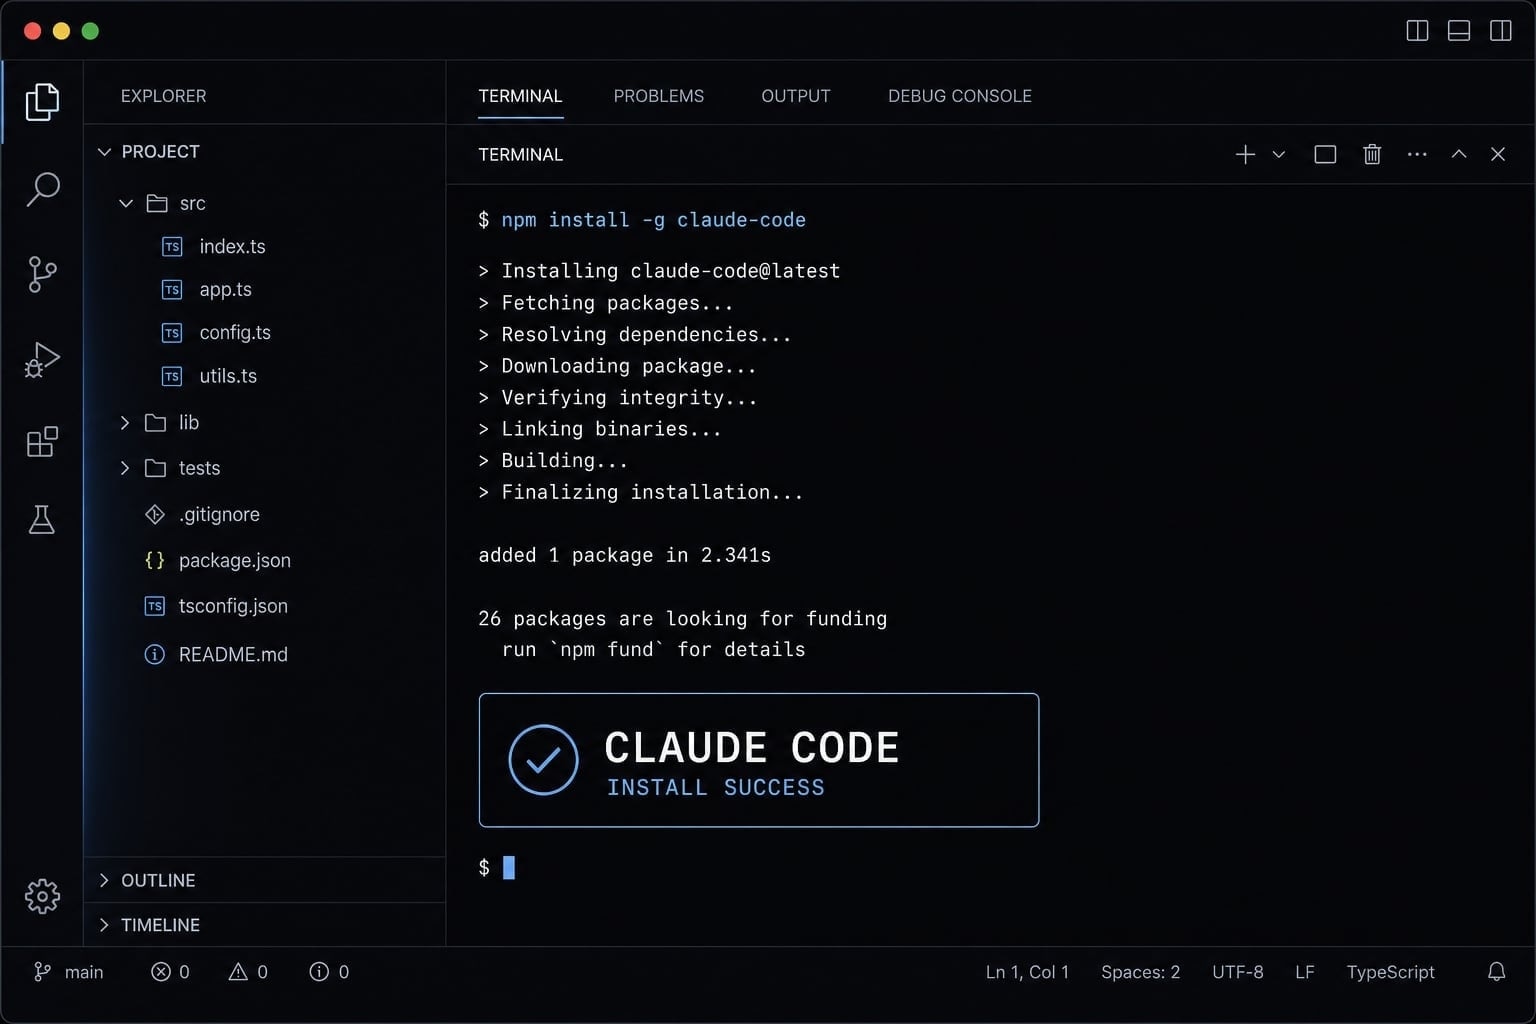
Before you install Claude Code: What you need first
You do not need deep product knowledge before installing Claude Code. You do need the right environment, valid access, install permissions, and a local project folder to test the tool once setup is complete. In practice, most failed setups come from simple issues: a locked-down corporate Windows machine, a shell mismatch between PowerShell and CMD, or confusion about authentication after the install succeeds.
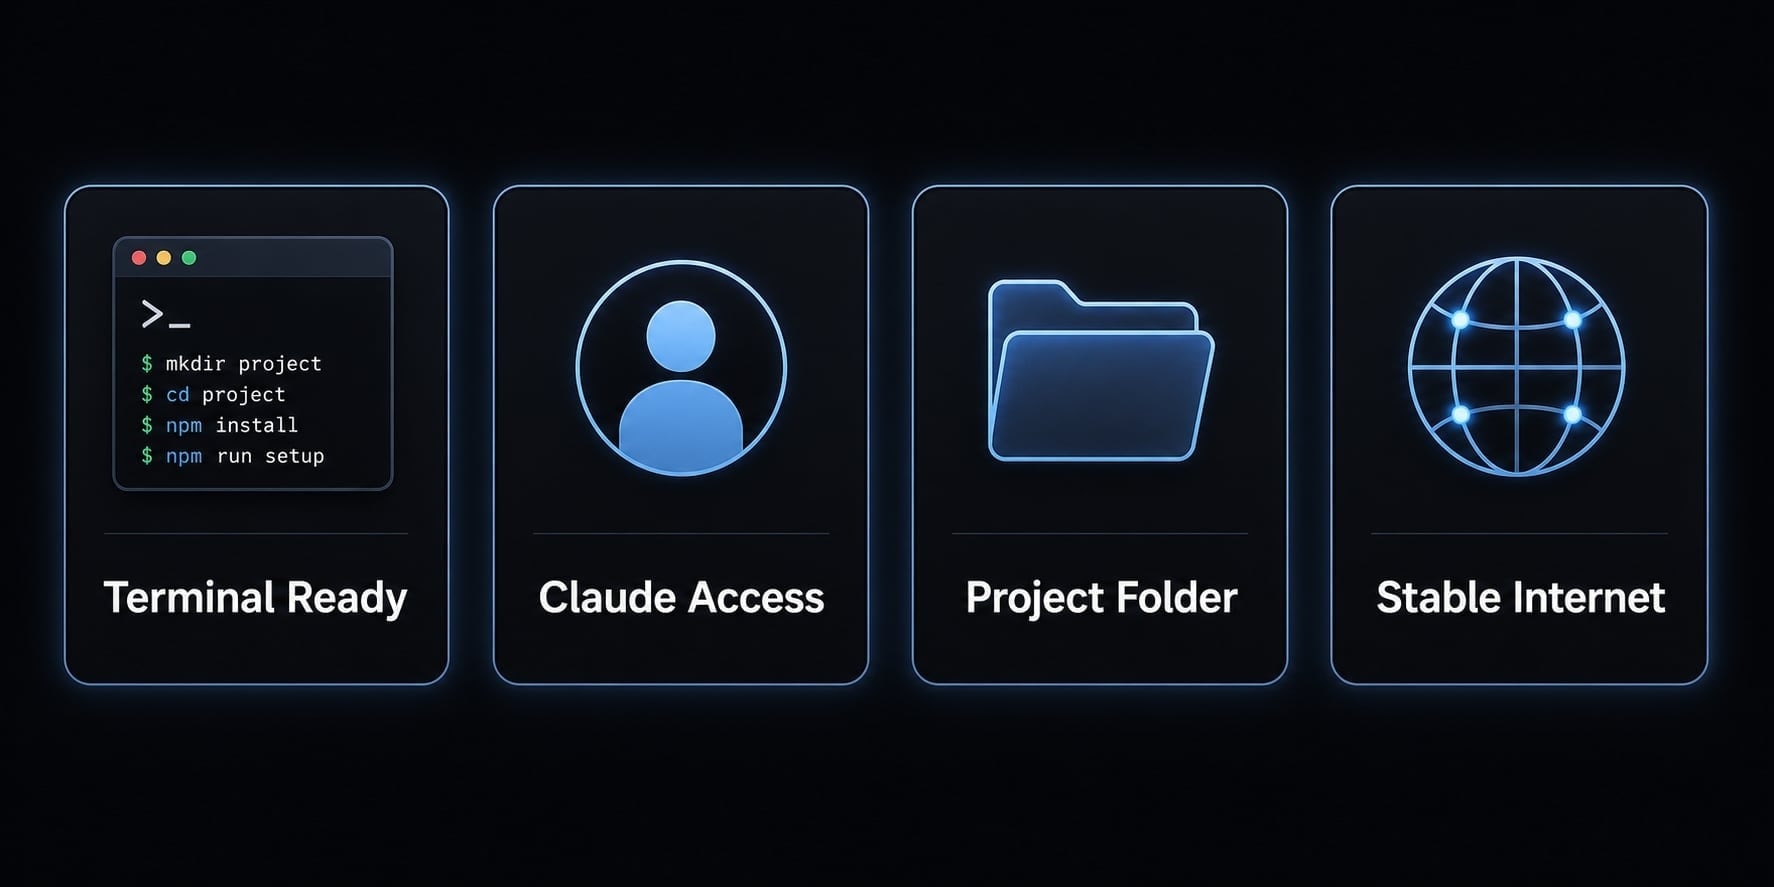
A clean Claude CLI installation usually starts with this checklist:
- A working terminal or command line.
- Permission to install software on your machine.
- Access to a supported Claude account or environment.
- A local project folder for first-run testing.
- The current official install method for your OS and shell.
Who this setup is for
- Developers who want a fast Anthropic terminal agent setup.
- Solo founders using terminal-based development workflows.
- Technical PMs who can follow CLI steps without heavy customization.
- Indie makers who want the shortest path to a working tool.
- Small product teams standardizing lightweight local AI workflows.
Safe-source reminder
Use official installation methods first. Older forum posts, blog tutorials, and unsupported package instructions may be outdated. Avoid mixing commands across different shells. You do not need advanced workflow knowledge to complete your initial Claude Code installation.
A few practical notes before you continue:
- If you are on a managed company laptop, install permissions may be restricted.
- If you are on Windows, confirm whether you are using PowerShell, CMD, or WSL.
- If you already have account access but do not see a login prompt later, your environment may already be using API-based auth.
Which Claude Code install method should you choose?
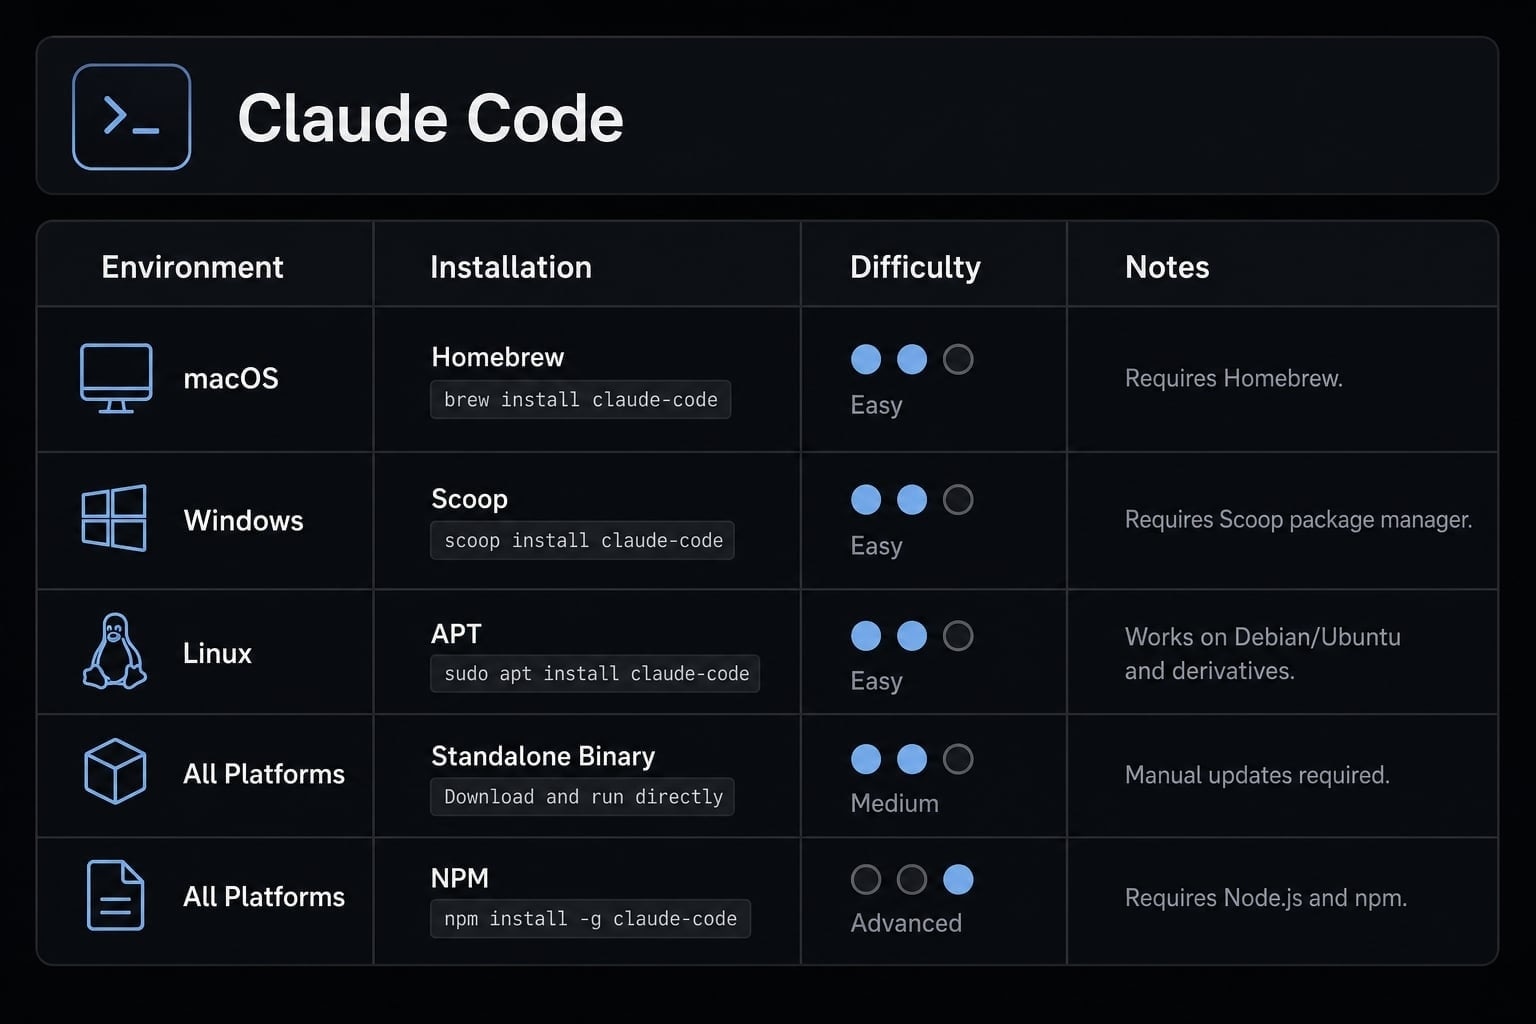
We recommend the native installation method for most users. It is the most direct path and minimizes setup issues. While Homebrew and WinGet are available, they are optional convenience tools rather than strict requirements.
If you already manage developer tools with Brew or WinGet, using those methods can be reasonable. If your goal is simply to get working fast, native install is the better default.
Method | Best for | OS support | Pros | Recommended? |
|---|---|---|---|---|
Native install | Most users | macOS, Linux, WSL, Windows | Official, direct, minimal friction | Yes |
Homebrew | Users already managing tools with Brew | macOS | Familiar package-manager flow | Optional |
WinGet | Windows users already using package managers | Windows | Easy for standard Windows package workflows | Optional |
PowerShell native | Windows users installing directly in PowerShell | Windows | Official shell-specific path | Yes |
CMD native | Users already working in Command Prompt | Windows | Official fallback for CMD | Yes, if using CMD |
Recommendation summary:
- macOS: Use native install by default; use Homebrew only if it is already part of your workflow.
- Linux / WSL: Use native install.
- Windows PowerShell: Use the official PowerShell install command.
- Windows package-manager users: Use WinGet only if it is already available and allowed.
- Locked-down Windows environments: Native commands may still fail if policy blocks installs, so confirm permissions first.
We recommend the native installation method for most users. It is the most direct path and minimizes setup issues. While Homebrew and WinGet are available, they are optional convenience tools rather than strict requirements.
How to install Claude Code on macOS, Linux, WSL, and Windows
The most important rule in this section is simple: Use the command that matches your shell. Do not copy a PowerShell command into CMD. Do not use a Windows command inside WSL. Most setup friction starts there.
macOS / Linux / WSL native install
Use this in macOS Terminal, a Linux shell, or WSL:
curl -fsSL https://claude.ai/install.sh | bash
Notes:
- This is the fastest default for most macOS, Linux, and WSL users.
- Run it only in the correct shell for your environment.
- After it completes, move directly to verification.
Windows PowerShell
Use this in Windows PowerShell.
irm https://claude.ai/install.ps1 | iex
Notes:
- Use this if you are installing directly from PowerShell.
- On corporate devices, execution or install permissions may be restricted.
- If the install appears to complete but the command is not recognized later, restart the terminal first.
Windows CMD
Use this only if you are currently in Command Prompt (CMD).
curl -fsSL https://claude.ai/install.cmd -o install.cmd && install.cmd && del install.cmd
Notes:
- This is the correct official path for users working in CMD.
- If command recognition fails later, open a fresh terminal before retrying.
- Do not run this inside PowerShell.
Alternative methods: Homebrew and WinGet
Use this in macOS Terminal only if you already use Homebrew for local tools.
brew install --cask claude-code
Use this in Windows PowerShell if WinGet is already part of your workflow.
winget install Anthropic.ClaudeCode
Notes:
- These are convenience options for existing package-manager users.
- They are not required for a successful Claude Code installation guide flow.
- For most users, native install remains the simpler default.
A few practical reminders for configuring Claude Code locally:
- Stay within the shell you started with.
- Avoid mixing third-party instructions with the current official method.
- Do not add custom flags or unofficial tweaks during first install.
- Verify first. Troubleshoot second.
This is the cleanest path for how to install Claude Code on macOS and Windows without turning setup into a debugging exercise.
Verify the install and log in to Claude Code
An install is not complete until the CLI works, Claude launches, and authentication is confirmed. Verify the command first before troubleshooting login.
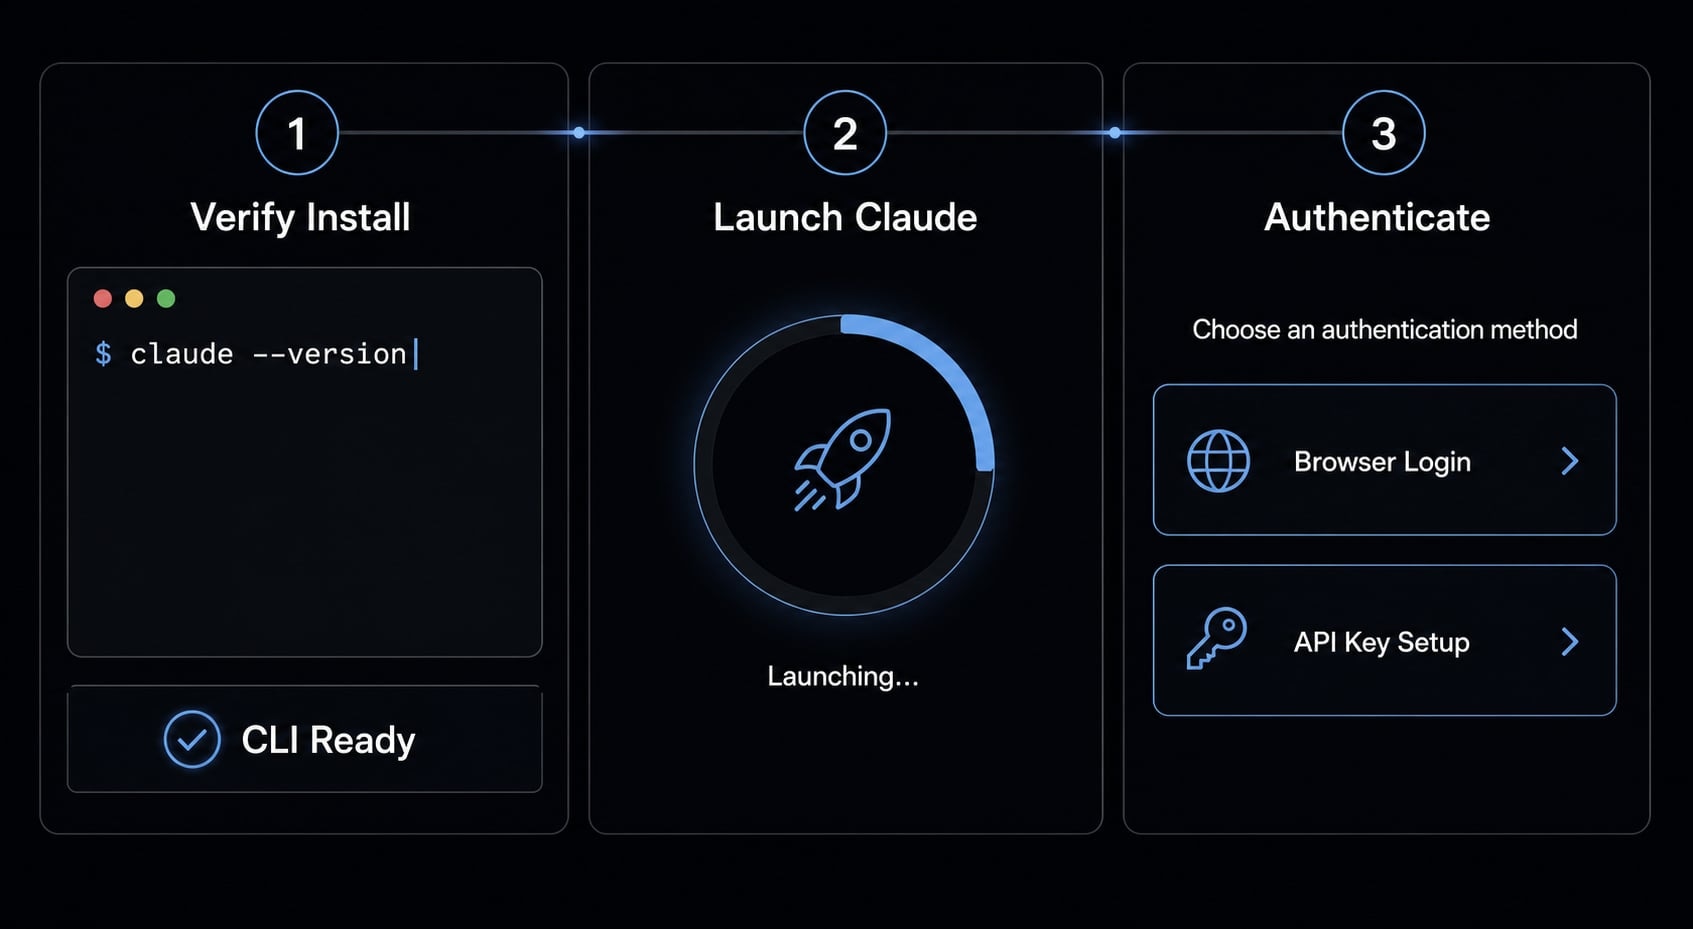
1. Verify the install
Use this in your terminal:
claude --version
Success signs:
- You see a version output
- The command runs normally without shell errors
Failure signs:
claude: command not found- Your shell does not recognize the command
2. Start Claude Code
Use this in your terminal:
claude
If the install is valid, Claude Code should launch and begin the normal setup flow for the Claude Code terminal tool.
3. Complete authentication
There are two common auth paths:
- Browser login: this is the standard interactive method for most users
- API key setup: if
ANTHROPIC_API_KEYis already configured, the login prompt may be skipped
This distinction matters:
- Browser login is the normal path for interactive local use
- Anthropic API configuration is useful in some preconfigured or automation-oriented environments
If you need to switch accounts later, use:
/login
Do not assume API-based auth is required. For most readers, browser authentication is the correct and simpler path.
Your first working Claude Code session in under 3 minutes
The first session should prove the setup works inside a real local project. Keep it low-risk. Start with project understanding, then try one small edit.
Quickstart checklist
- Open a terminal in a real project folder.
- Launch Claude Code.
- Ask it to explain the project before editing.
- Test one safe, easy change.
- Review the proposed edit before approval.
Enter your project and launch Claude
Use this in your terminal:
cd /path/to/your/projectclaude
Start with these three prompts:
- “What does this project do?”
- “What technologies does this project use?”
- “Explain the folder structure.”
These prompts are useful because they confirm the tool can read and reason about the codebase before you ask it to change anything. That is the fastest path to confidence when getting started with Claude Code terminal tool.
Try one safe first edit
Use a simple prompt such as: “Add a hello world function to the main file.”
What to expect:
- Claude proposes a change.
- You review the proposed edit.
- Approval happens before the file is changed.
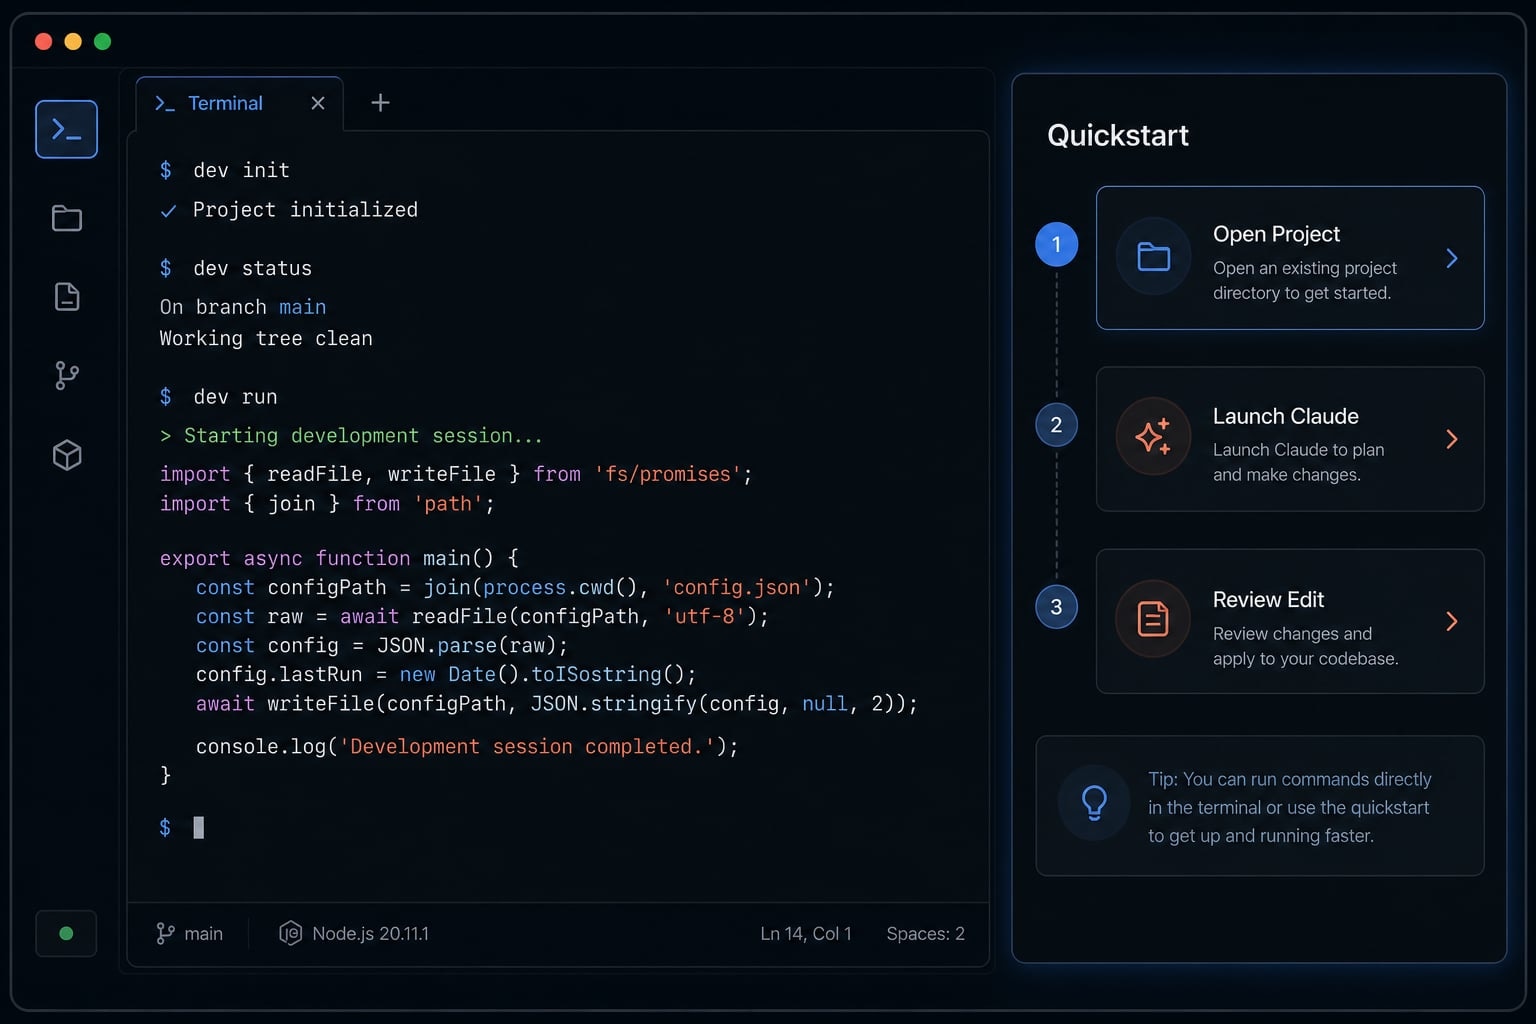
This is the right first workflow. Do not start by asking it to refactor the whole application, rewrite architecture, or touch sensitive files on day one.
Common Claude Code Install Problems and Fast Fixes
Most post-install problems are basic shell or environment issues, not deeper product failures. Start with the highest-probability fixes first.
Problem | Likely cause | Fast fix |
|---|---|---|
| Install completed, but terminal session did not refresh | Restart the terminal and run |
Wrong shell used for install | PowerShell command run in CMD, or vice versa | Re-run the matching official install command in the correct shell |
PATH issues | Shell cannot find the installed binary yet | Open a fresh terminal, then verify again |
Login or browser auth not completing | Browser prompt blocked or interrupted | Run |
Used an outdated tutorial | Older third-party steps conflict with current docs | Return to the current official install method and reinstall |
Install seemed fine, but command still fails | Terminal restart was skipped | Fully close and reopen the terminal before retrying |
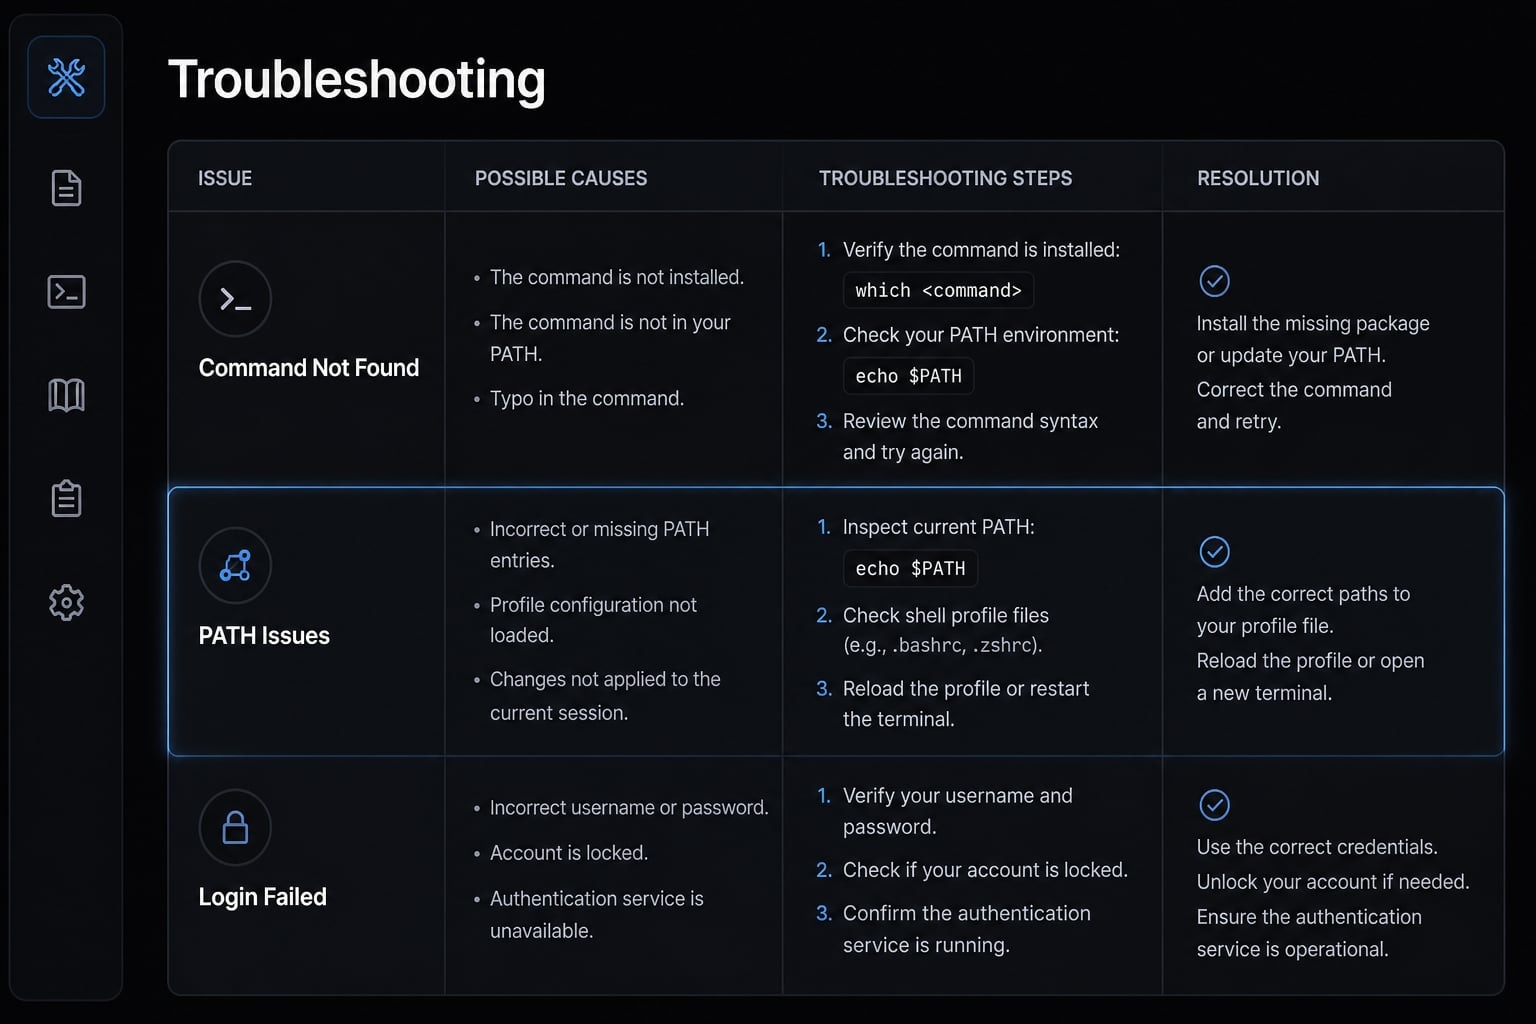
Quick checks before retrying:
- Restart the terminal first
- Confirm the command matched your shell
- Re-run the official install command if needed
- If you followed an old tutorial, switch back to the current official method
- Verify with
claude --versionbefore investigating anything deeper
In real-world troubleshooting Claude Code installation errors, outdated tutorials and shell mismatches are more common than advanced failures. Keep the fix path simple.
What to do after installation: Useful commands and next-step workflows
Once setup works, the next step is learning a few day-one Claude Code commands. That is enough for productive one-off usage before you think about more advanced agentic workflow design.
Command | What it does |
|---|---|
| Start interactive mode |
| Run a one-time task |
| Run one-off query, then exit |
| Continue the most recent conversation |
| Resume a previous conversation |
| Show available session commands |
| Clear conversation history |
| Exit Claude Code |
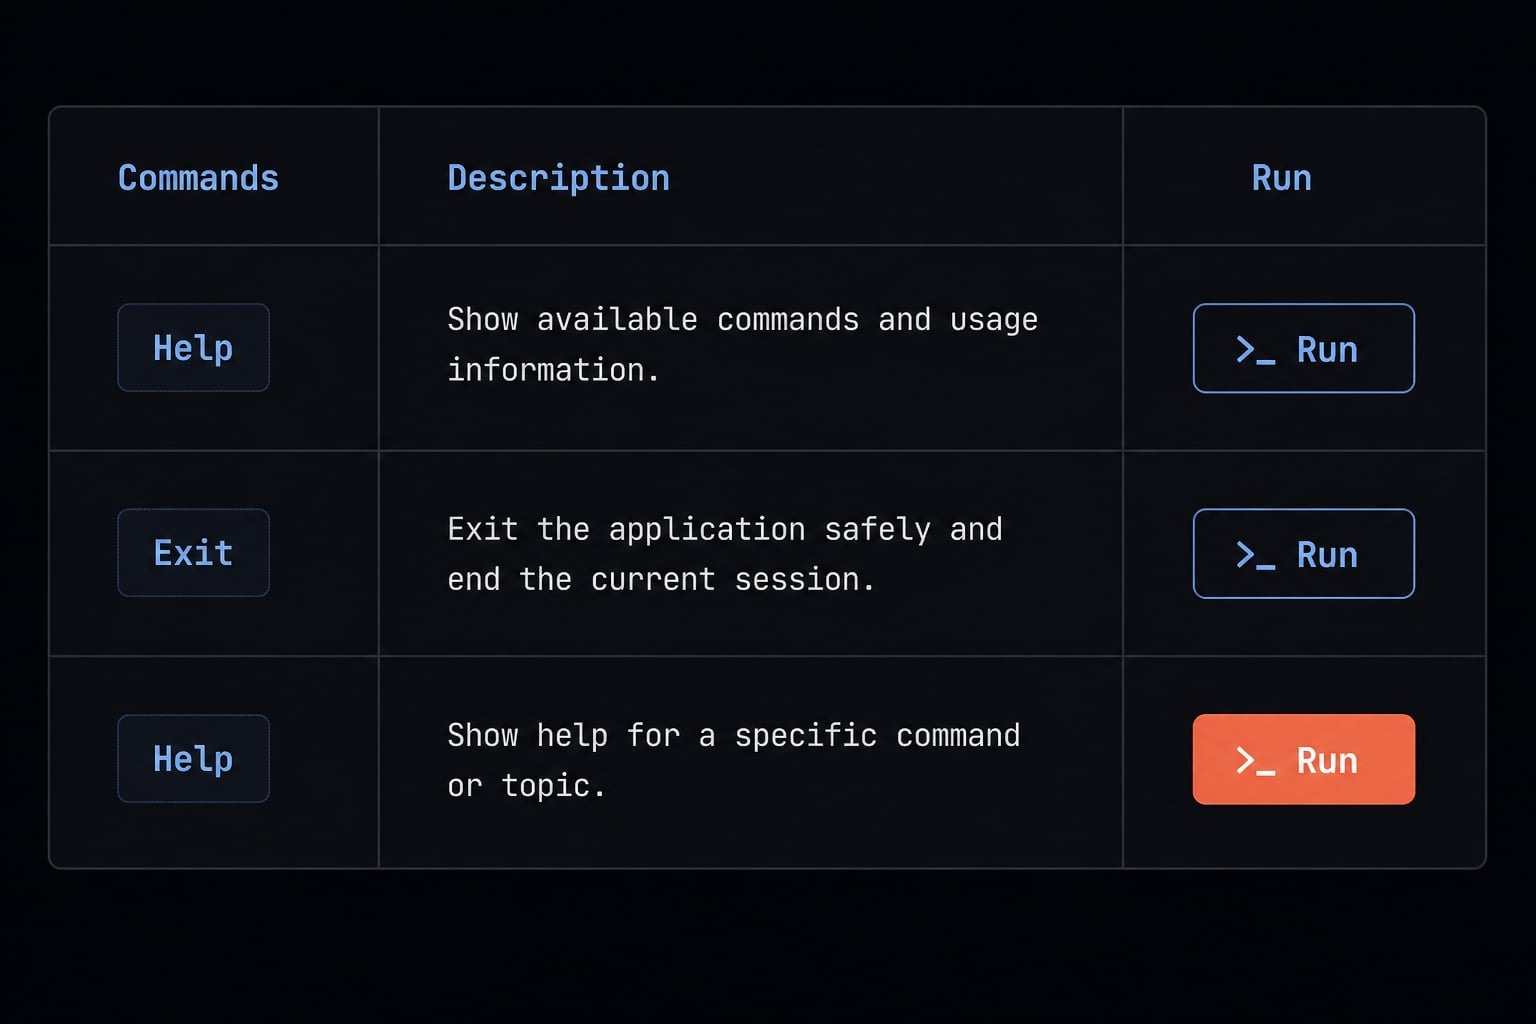
Advanced setup elements such as MCP, reusable skills, hooks, and standardized configurations are optional. They are not needed to complete installation.
If your team wants repeatable Claude Code workflows across multiple users, AgentKit can help standardize skills, subagents, MCP integrations, and command-line interface tools into a consistent operating model. That becomes relevant after setup is stable, not before.
Frequently asked questions
What is the recommended way to perform a Claude Code install?
The recommended way is using the official native install script for your OS (macOS, Linux, WSL, or Windows). This path ensures you receive the most stable, up-to-date version directly from Anthropic, minimizing the risk of errors associated with unofficial community-based tutorials or outdated installation scripts.
How do I verify my Claude Code installation?
After running your OS-specific installation command, open a fresh terminal window and run claude --version. If the installation was successful, the terminal will output the current version number. If you see a "command not found" error, ensure your terminal has been restarted or check your system's PATH configuration.
Do I need an API key to use Claude Code?
No, an API key is not strictly required. You can authenticate using your standard Claude account via an interactive browser flow when you first run the claude command. If you have already set the ANTHROPIC_API_KEY environment variable, the CLI will use that for authentication and skip the browser login step.
Which installation method should I choose for Windows?
If you are working in PowerShell, use the native PowerShell install command. If you are working in Command Prompt (CMD), use the provided CMD install script. If you already use WinGet as your primary package manager, you may use it, but the native script remains the most straightforward supported path.
How do I troubleshoot "command not found" after installation?
First, restart your terminal to ensure the path updates take effect. If the error persists, verify you are using the correct shell for the command you ran. If you previously followed an unofficial third-party guide, we recommend re-running the official installation command to ensure your environment is configured correctly.
Is Claude Code free to use?
Claude Code requires an active Claude subscription (Pro, Max, Team, or Enterprise) or access through a supported cloud provider/Claude Console account. While the tool itself is a CLI interface, it operates by consuming your existing usage limits and API credits.
Can I use Claude Code to automate professional coding workflows?
Yes. Once installed, Claude Code excels at automating research, debugging, and testing. For teams requiring repeatable, standardized workflows-such as reusable skills, MCP integrations, and automated code reviews-AgentKit provides a framework to mature these Claude Code sessions into production-ready development teams.
Read more:
- Claude Code tutorial: Set up and master your AI coding agent
- Claude Code VS Code: Installation and setup guide 2026
- How to authenticate Claude Code in terminal
Conclusion
A successful Claude Code install should follow a simple order: choose the right method for your OS and shell, run the correct command, verify with claude --version, log in, and test the tool inside a local project. That sequence removes most avoidable setup friction and gives you a working baseline quickly.
If you want the fastest self-serve path, continue with the official quickstart and start using Claude Code in a real project today. If your goal is to turn that initial setup into a repeatable team workflow with reusable skills, subagents, and MCP-based standardization, explore AgentKit as the next layer after installation.