PostHog MCP Claude Code: Practical setup guide for developers
PostHog MCP Claude Code: Practical setup guide
If you searched for PostHog MCP Claude Code, you likely want one thing: A fast way to work with analytics, feature flags, and errors without constantly switching between your editor and the PostHog UI. This guide focuses on the parts that matter most in practice: Setup paths, authentication, first prompts, safety basics, and quick troubleshooting. It is designed for developers, technical founders, and PMs who want immediate time-to-value, not a deep protocol lecture. By the end, you should know exactly how to connect PostHog to Claude Code and verify that it is working.
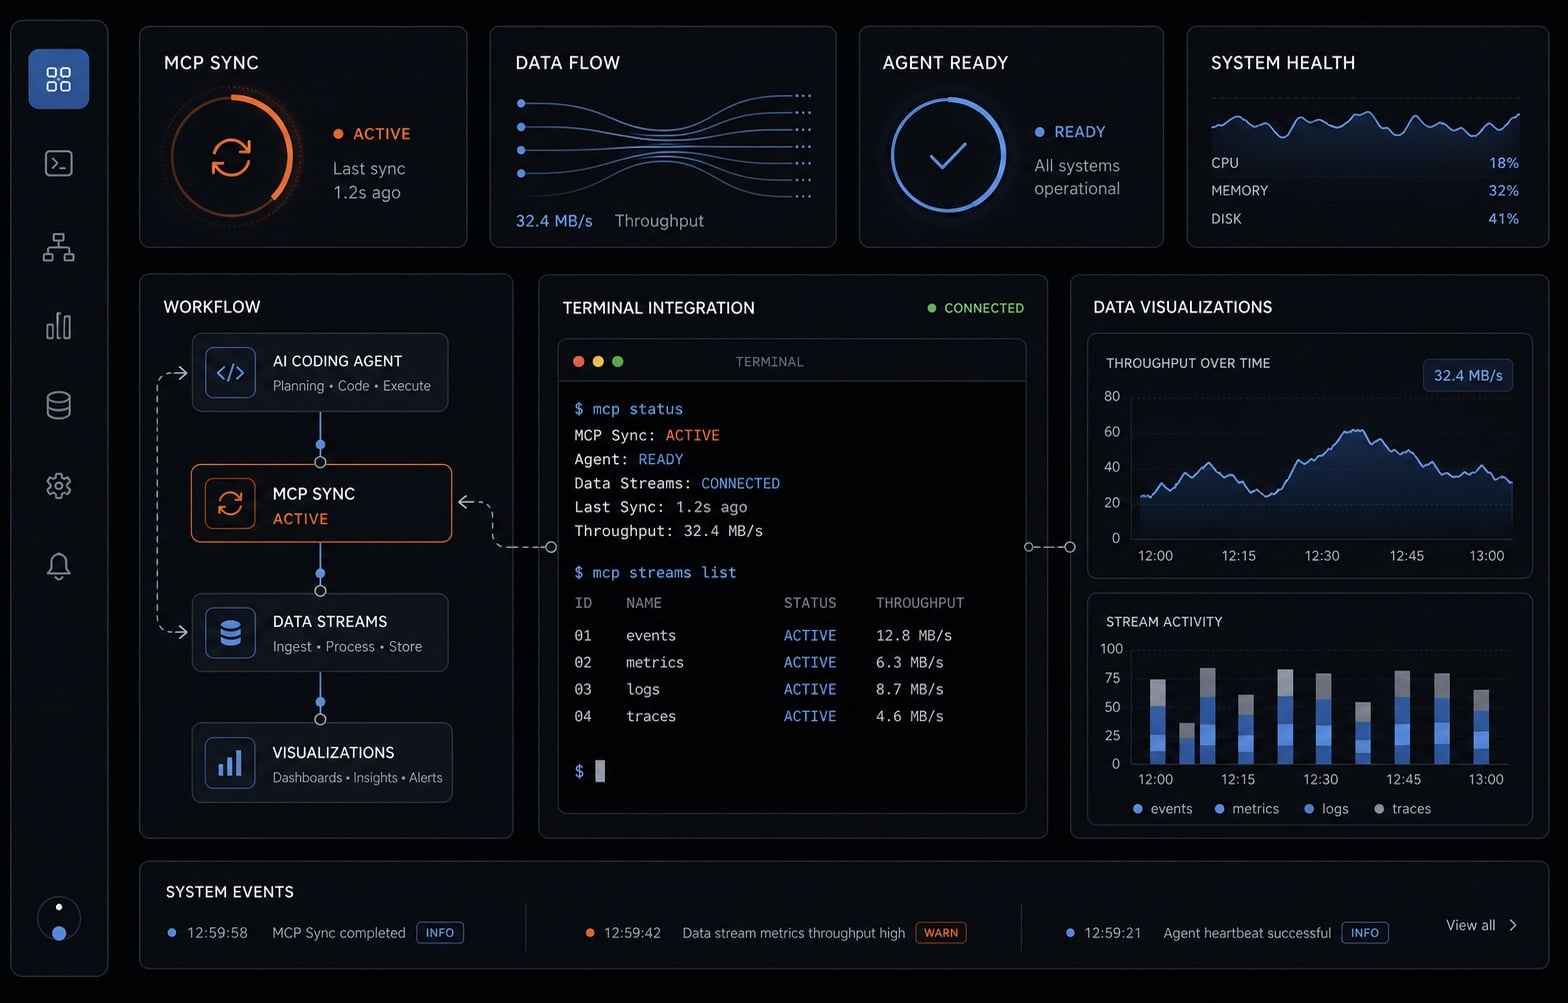
What is PostHog MCP for Claude Code?
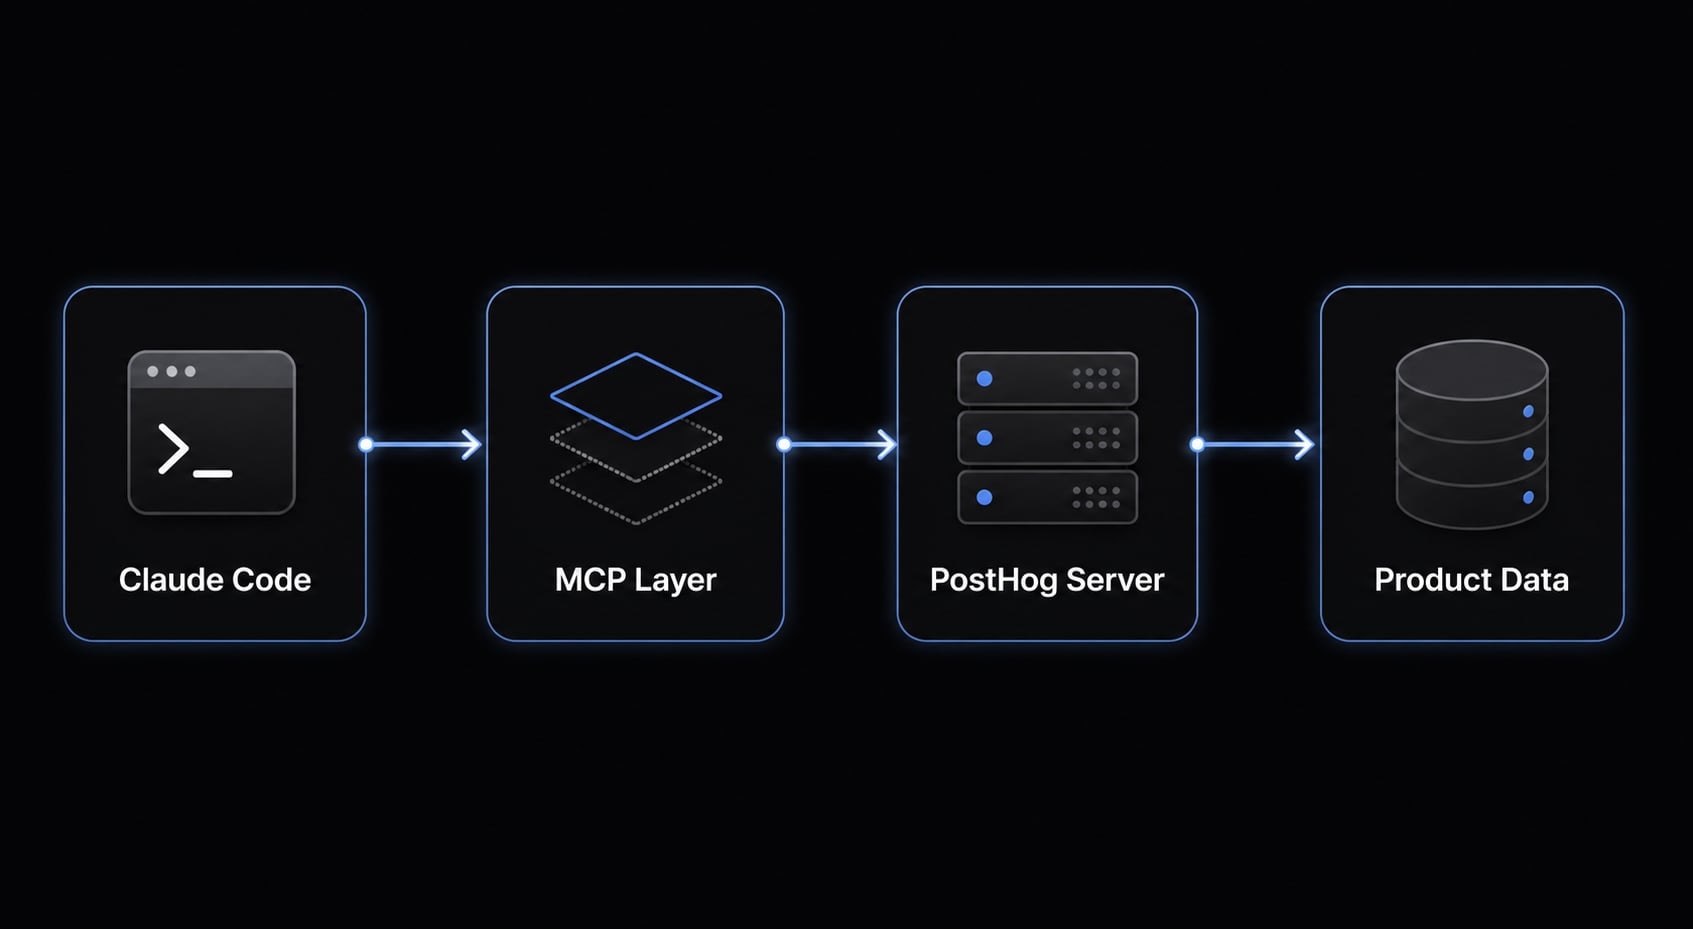
PostHog MCP for Claude Code is an integration that lets Claude Code access PostHog tools and data through the Model Context Protocol, so you can query analytics, inspect errors, review feature flags, and explore experiments inside your coding workflow. The canonical PostHog MCP server endpoint is https://mcp.posthog.com/mcp.
At a practical level, PostHog MCP acts as the connection layer between Claude Code and your PostHog workspace. Instead of copying data between tools, Claude can use the PostHog MCP server to fetch relevant product information when you ask targeted questions. The main benefit is reduced context switching during debugging, release review, and product analysis. That said, posthog mcp is best treated as an in-workflow helper. It does not replace the full PostHog dashboard for deep visual analysis, long-range reporting, or manual validation.
MCP in plain English
The Model Context Protocol is a structured way for tools to expose capabilities to an AI assistant. In this case, it allows Claude Code to securely talk to the posthog mcp connection and use PostHog-related actions when needed.
What changes after the connection is live?
- You can ask Claude to inspect product analytics without leaving your workflow.
- You can review errors after a deployment with faster context gathering.
- You can check feature flags and experiments in the same working session.
- You can combine PostHog data with local project files for better interpretation.
- You still need the PostHog UI for full dashboards, visual exploration, and final verification.
What you can actually do with PostHog MCP in Claude Code
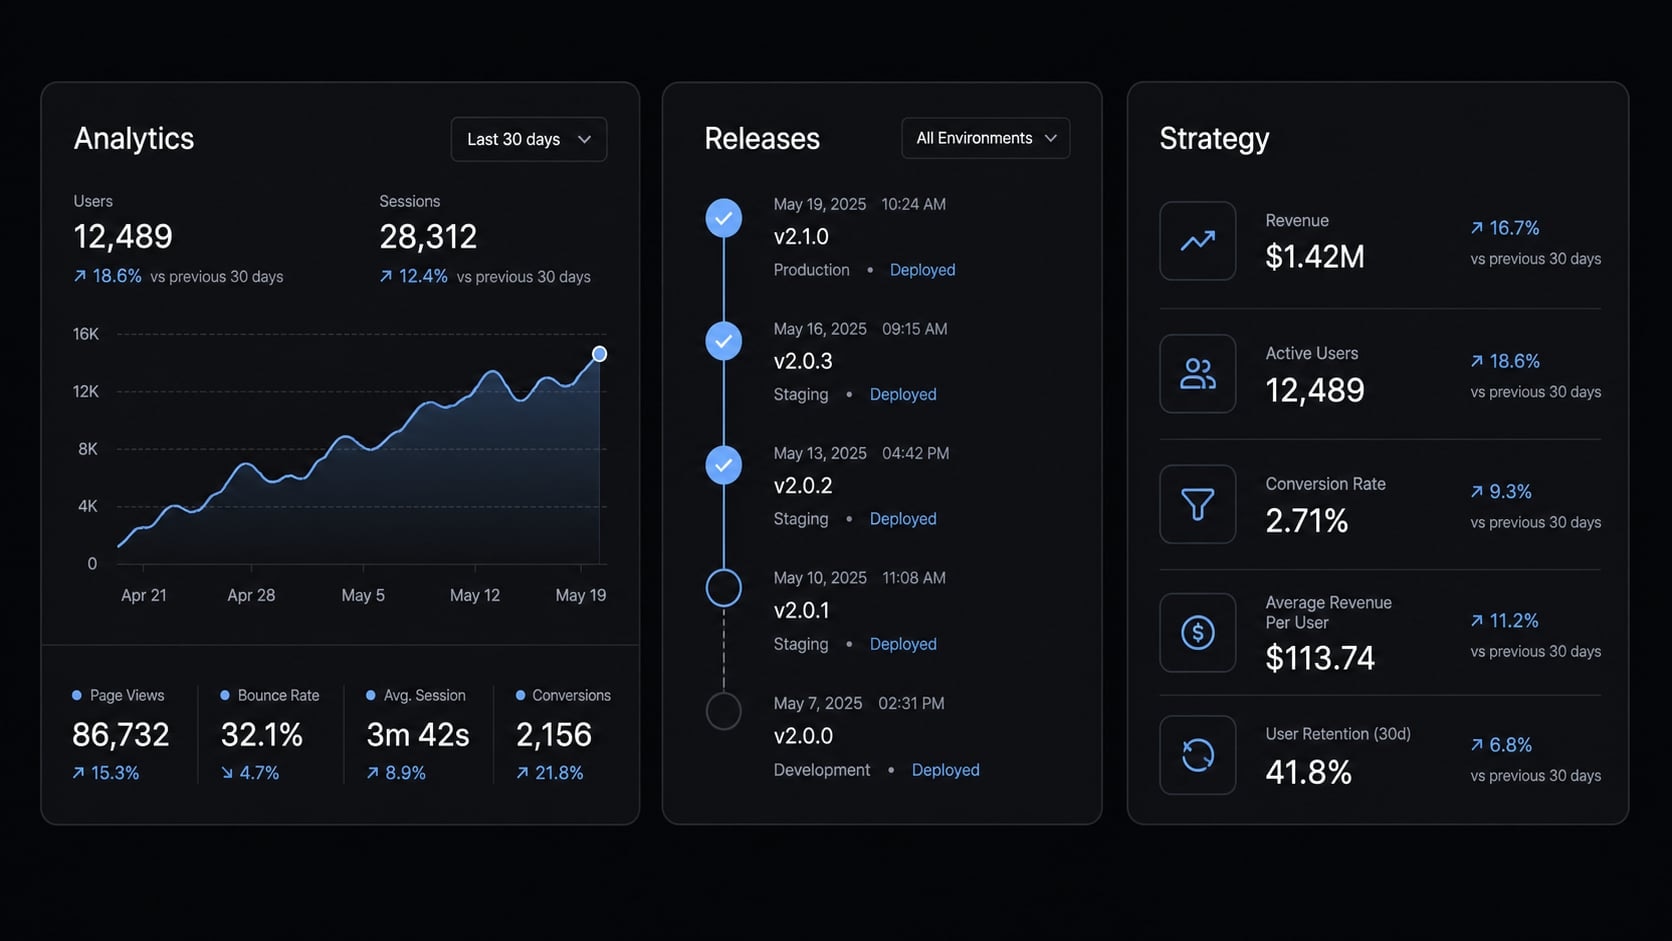
The integration is useful because it brings product analytics closer to your shipping workflow. Instead of treating analytics as a separate reporting task, you can use targeted questions inside development, release checks, and product investigation. In practice, this is most valuable when prompts are narrow and when Claude also has access to relevant local files, notes, or release context. Even then, the PostHog UI still matters for deeper review and confirmation.
Common workflows for developers
- Check recent errors after a deployment and ask which issue patterns appeared most recently.
- Review active flags as part of feature flags management before enabling a release.
- Inspect event or trend changes after shipping code to see whether a flow behaved differently.
- Summarize current experiments that may affect onboarding, pricing, or rollout behavior.
- Use HogQL when you need more direct query-style investigation beyond high-level summaries.
- Compare a suspected release issue with deployment notes or local changelog files.
Common workflows for PMs and founders
- Ask why a key metric dropped and request a tighter breakdown by segment, source, or timeframe.
- Explore funnel friction using product analytics and compare the findings with user research notes.
- Validate whether a newly shipped feature has real usage signals before treating it as successful.
- Review experiments status to understand whether a result is still running, inconclusive, or directional.
- Investigate whether onboarding changes, release timing, or messaging shifts may explain movement.
- Use targeted feature flags management questions to see what was exposed to which user paths.
Fastest setup options: Wizard, plugin, or manual MCP setup
There are three practical ways to handle PostHog MCP server setup in Claude Code: The wizard, the plugin path, and manual MCP setup. All three work. The right choice depends on whether you want the fastest install, the smoothest day-to-day experience, or the most explicit control. If your main goal is to connect PostHog to Claude Code quickly, start with the option that matches your workflow rather than assuming one path is always best.
Option 1: Install with the PostHog Wizard
Use this if you want the lowest-friction PostHog MCP server setup.
npx @posthog/wizard mcp add
Best for:
- First-time users.
- Solo builders.
- Fastest setup path.
Trade-off: Great for speed, but less explicit if you prefer seeing each setup choice manually.
In practice, authentication usually happens when you first actually use the connection, not necessarily at install time.
Option 2: Install as a Claude Code Plugin
Use this if you are a frequent Claude Code plugin user and want convenience inside daily workflow.
claude plugin install posthog
After installation, run /mcp in Claude Code and follow the browser login flow. This option also gives you convenient slash commands such as:
/posthog:flags/posthog:insights/posthog:errors/posthog:experiments
Best for:
- Regular Claude Code users.
- People who want reusable command shortcuts.
- Teams that prefer plugin-style usability.
Trade-off: Slightly more opinionated than direct manual MCP setup.
Option 3: Manual MCP Setup
Use this if you want the most explicit PostHog MCP server setup path.
claude mcp add --transport http posthog https://mcp.posthog.com/mcp -s user
This manual MCP setup approach is the highest-control option. You define the transport, the server name, and the endpoint directly.
Best for:
- Technical users.
- Teams standardizing setup steps.
- People who prefer explicit configuration.
Trade-off: Slightly less convenient than the wizard or Claude Code plugin route.
Which option should you choose?
Setup option | Speed | Best for | Main command |
|---|---|---|---|
Wizard | Fastest | First-time users, solo builders, low-friction setup |
|
Plugin | Fast | Frequent Claude Code users, shortcut-driven workflow |
|
Manual | Moderate | Technical users, standardized team setup, explicit control |
|
The short version: Choose the wizard for speed, the plugin for day-to-day usability, and manual mcp setup for control. All three are valid ways to connect PostHog to Claude Code.
Authentication flow and first run experience
The authentication flow is usually straightforward, but it helps to know what to expect. Most first-run friction comes from browser login interruptions, selecting the wrong account, or forgetting which environment you are authorizing. In normal use, browser-based PostHog login is expected, and region routing is handled automatically based on the account you use.
What the first authentication usually looks like:
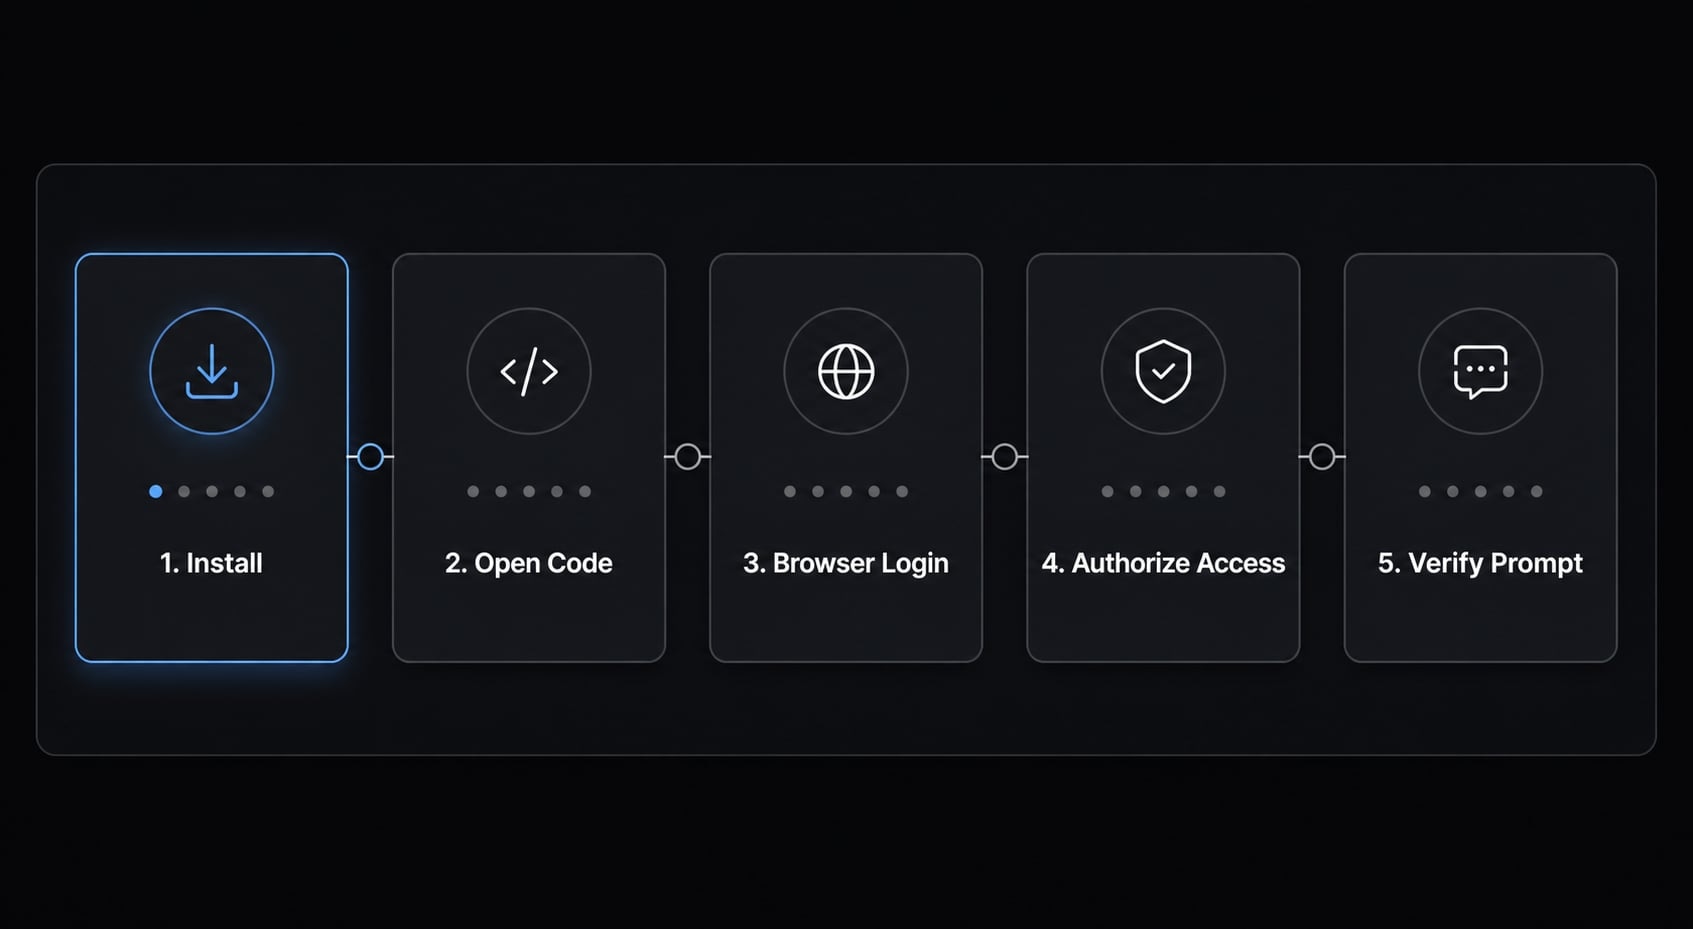
- Install the connection using the wizard, plugin, or manual setup command.
- Open Claude Code or invoke the MCP/plugin flow from your installed setup.
- A browser-based PostHog login opens for authentication.
- Sign in, authorize access, and let region routing send you to the correct data region.
- Return to Claude Code and verify the authentication flow with one small test prompt.
If you work across multiple PostHog environments, verify that you authenticated into the correct account and workspace before trusting the output. That is one of the most common sources of confusion during first run.
Quick start: First prompts to try after setup
The best way to test the connection is to start with small, verifiable requests. Good example prompts are narrow, tied to a metric or release, and easy to cross-check. Most weak results come from vague requests like “analyze my product,” not from the integration itself. As with most in-workflow tools, prompt quality shapes output quality.
Analytics prompts
- “Show recent trends for [key event].”
- “What changed in activation over the last 7 days?”
- “Break down this metric by segment or source.”
- “Summarize recent PostHog insights related to onboarding conversion.”
- “Compare this week’s event trend to the previous week for [event name].”
Product and release prompts
- “Check recent errors after the latest deployment.”
- “List active feature flags related to onboarding.”
- “Summarize current experiments and their status.”
- “Help with feature flags management for the release touching signup flow.”
- “Start an error investigation for the most recent issues affecting checkout.”
Strategy-style prompts with context
- “Compare this funnel drop-off with notes in my local product docs.”
- “Help me investigate whether this metric drop is release-related or normal variance.”
- “Review local changelog notes and compare them with recent PostHog insights.”
- “Check whether this feature has meaningful usage signals or only shallow adoption.”
These example prompts work best when Claude can reference both PostHog data and local project context. Start narrow, verify the answer manually, then expand the scope if needed.
Safety, limitations, and what to watch for
Use this integration for targeted analysis, not vague autonomous reasoning. It can speed up investigation, but it should not be treated as a blind decision-maker. In practice, the biggest risks are prompt injection, approving actions too quickly, and trusting unverified summaries when there may be data discrepancies between contexts.
Safe operating habits
- Practice safe tool usage by reviewing requested actions before approving them.
- Review tool calls carefully, especially if a prompt came from pasted text or an untrusted source.
- Watch for prompt injection attempts that try to steer the model into unsafe or irrelevant actions.
- Avoid blind execution from copied prompts, shared snippets, or unknown documents.
- Keep prompts narrow, testable, and tied to a metric, event, or time range.
Expectation management
- Good for workflow acceleration, especially during release review or focused product analysis.
- Not a replacement for careful business or product judgment.
- Results may differ from the UI because of scope, caching, or context differences.
- Expect some data discrepancies when query assumptions do not exactly match the dashboard view.
- Strong AI workflow safety comes from verifying results, not assuming the first answer is final.
- A second mention is worth making: prompt injection risk is real whenever tools are involved, so keep human approval in the loop.
This is a practical helper, not a substitute for validation. If a conclusion affects a release, roadmap decision, or experiment readout, verify it manually.
Common setup issues and basic troubleshooting
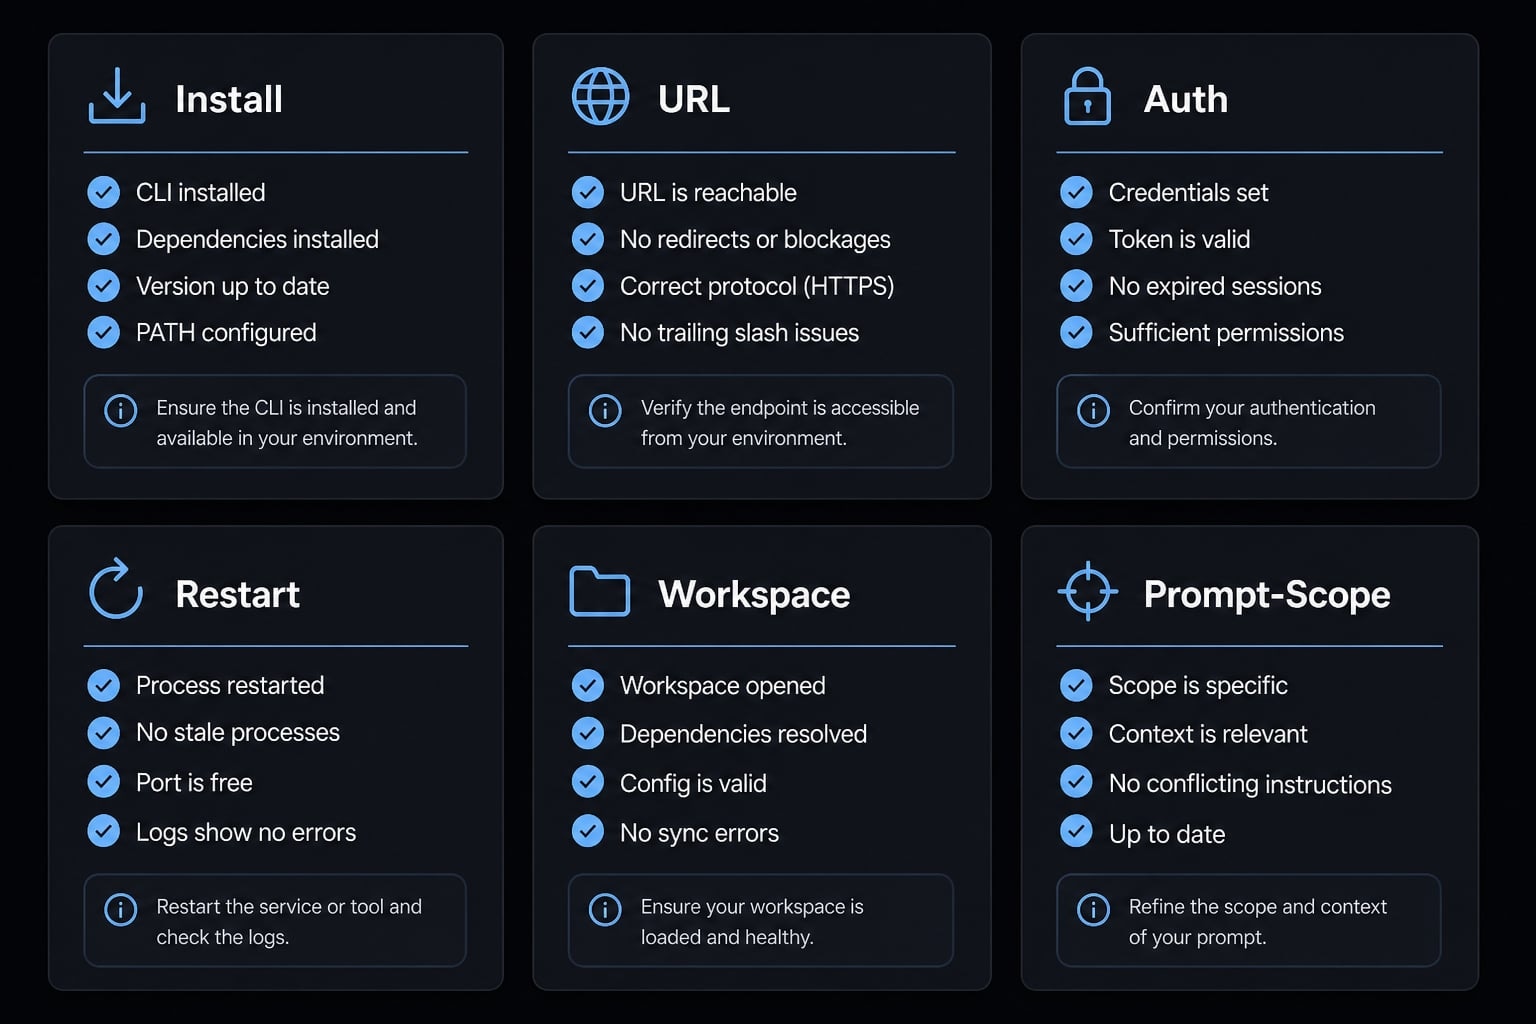
Most troubleshooting cases are simple. If PostHog MCP is not working in Claude Code, the issue is usually one of three things: Setup command errors, auth issues, or prompts that are too vague to return useful output. A quick, ordered check is usually enough.
If PostHog MCP is not working in Claude Code, check these basics first:
- Confirm you used the correct install command for your chosen setup path.
- Confirm the MCP server URL is exactly
https://mcp.posthog.com/mcp. - Retry the browser authentication flow if PostHog login did not complete cleanly.
- Reopen or restart Claude Code after setup changes.
- Verify you are using the right PostHog account and workspace.
- Confirm your Claude Code MCP connection was added to the expected scope.
- Reframe the prompt with a tighter metric, event, segment, or time range.
- If results look wrong, treat it as troubleshooting for prompt scope, not only installation.
Many “bad outputs” are not technical failures. They are prompt-quality issues. Tightening the request usually improves results faster than reinstalling everything.
Practical example: Using Claude Code + PostHog MCP to investigate a funnel drop
A realistic use case starts with a funnel drop-off, not a giant open-ended query. Suppose signup completion suddenly looks weaker after a release. Instead of jumping between tools, you ask Claude Code to inspect the relevant product analytics, then compare the pattern with your release notes and local onboarding docs.
A simple workflow looks like this:
- Ask for the recent funnel trend and where the drop is concentrated.
- Ask whether recent errors, feature flag changes, or experiment activity align with that step.
- Compare the result with local context, such as deployment notes, onboarding copy changes, or internal product docs.
The value here is speed and synthesis. You get a directional view faster, but not an absolute answer you should trust blindly. That is why this setup supports data-informed decision making rather than automatic decision making. It helps narrow the investigation, surface likely causes, and give the team a better next question.
Frequently asked questions
What is the PostHog MCP for Claude Code?
The PostHog MCP is an integration that connects Claude Code to your PostHog analytics data via the Model Context Protocol. It allows you to query analytics, manage feature flags, and investigate errors directly within your coding workflow using the canonical server URL: https://mcp.posthog.com/mcp.
How do I connect PostHog to Claude Code?
You can connect PostHog to Claude Code using one of three methods: the PostHog Wizard (npx @posthog/wizard mcp add), the Claude Code plugin (claude plugin install posthog), or by manually adding the MCP server through the Claude CLI. Each method provides direct access to PostHog tools.
Is PostHog MCP a replacement for the PostHog dashboard?
No. The integration is designed to reduce context switching by providing in-workflow analysis and quick debugging. While it offers powerful access to HogQL and flag management, it complements—rather than replaces—the full PostHog dashboard for complex data exploration or long-term reporting.
Why do my query results differ from the PostHog UI?
Results may vary due to differences in data sampling, caching, or the specific scope of the MCP query compared to your dashboard settings. Always treat analytical outputs from the integration as directional insights and verify critical metrics within the PostHog UI if necessary.
How can I ensure safe tool usage when using MCP?
To maintain safety, always review tool calls suggested by Claude before approving them. Because LLMs can be vulnerable to prompt injection, avoid executing untrusted prompts and keep your requests narrow, verifiable, and focused on specific, low-risk analytical tasks rather than broad autonomous operations.
What should I check if the PostHog MCP fails to work?
If you encounter issues, first verify that you used the correct install command and the official server URL. Try restarting Claude Code, re-triggering the browser-based authentication flow, and ensuring you are logged into the correct PostHog account or workspace associated with your current project.
Read more:
- How to Add Supabase MCP to Claude Code
- Claude Code Figma MCP setup: Remote vs desktop guide
- Claude Code hooks guide: Automate and control AI workflows
Conclusion
PostHog MCP Claude Code is most useful when you want faster access to analytics, errors, feature flags, and experiments without leaving your development workflow. The setup is flexible: use the wizard for speed, the plugin for daily convenience, or the manual path for explicit control.
Start with simple prompts, verify the output against the PostHog UI when needed, and treat the integration as a workflow accelerator rather than a replacement for judgment. If this setup fits your stack, save the commands and checklist above, then explore more MCP workflow patterns once your first connection is working reliably.