Claude Code subagents documentation: Setup and usage guide
Claude Code subagents documentation: Practical setup, usage, and troubleshooting guide
If you are searching for Claude Code subagents documentation, the fastest way to understand it is this: Subagents help you move repeated or specialized work out of the main thread before logs, file scans, and side investigations start creating workflow clutter. They are useful when you want Claude Code to delegate a defined job to a separate worker with its own instructions and boundaries. This guide explains what Claude Code subagents are, how to create one, where to store it, which YAML frontmatter fields matter, how to invoke it, and how to troubleshoot common setup mistakes without overcomplicating the first version.
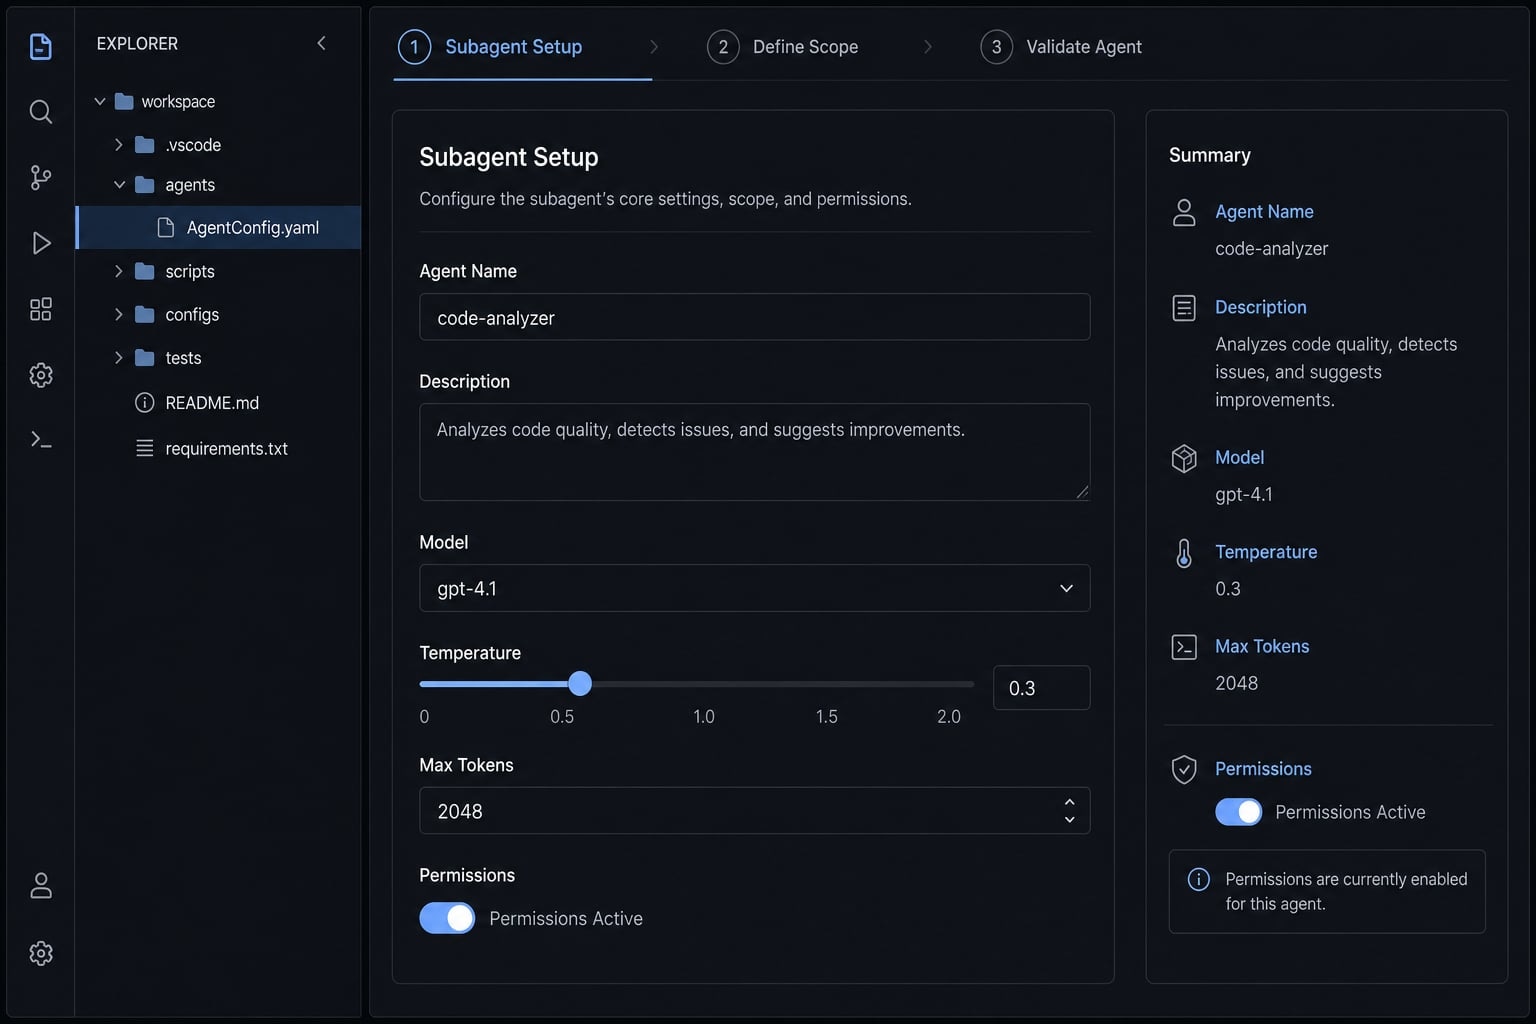
What Claude Code subagents are and when to use them
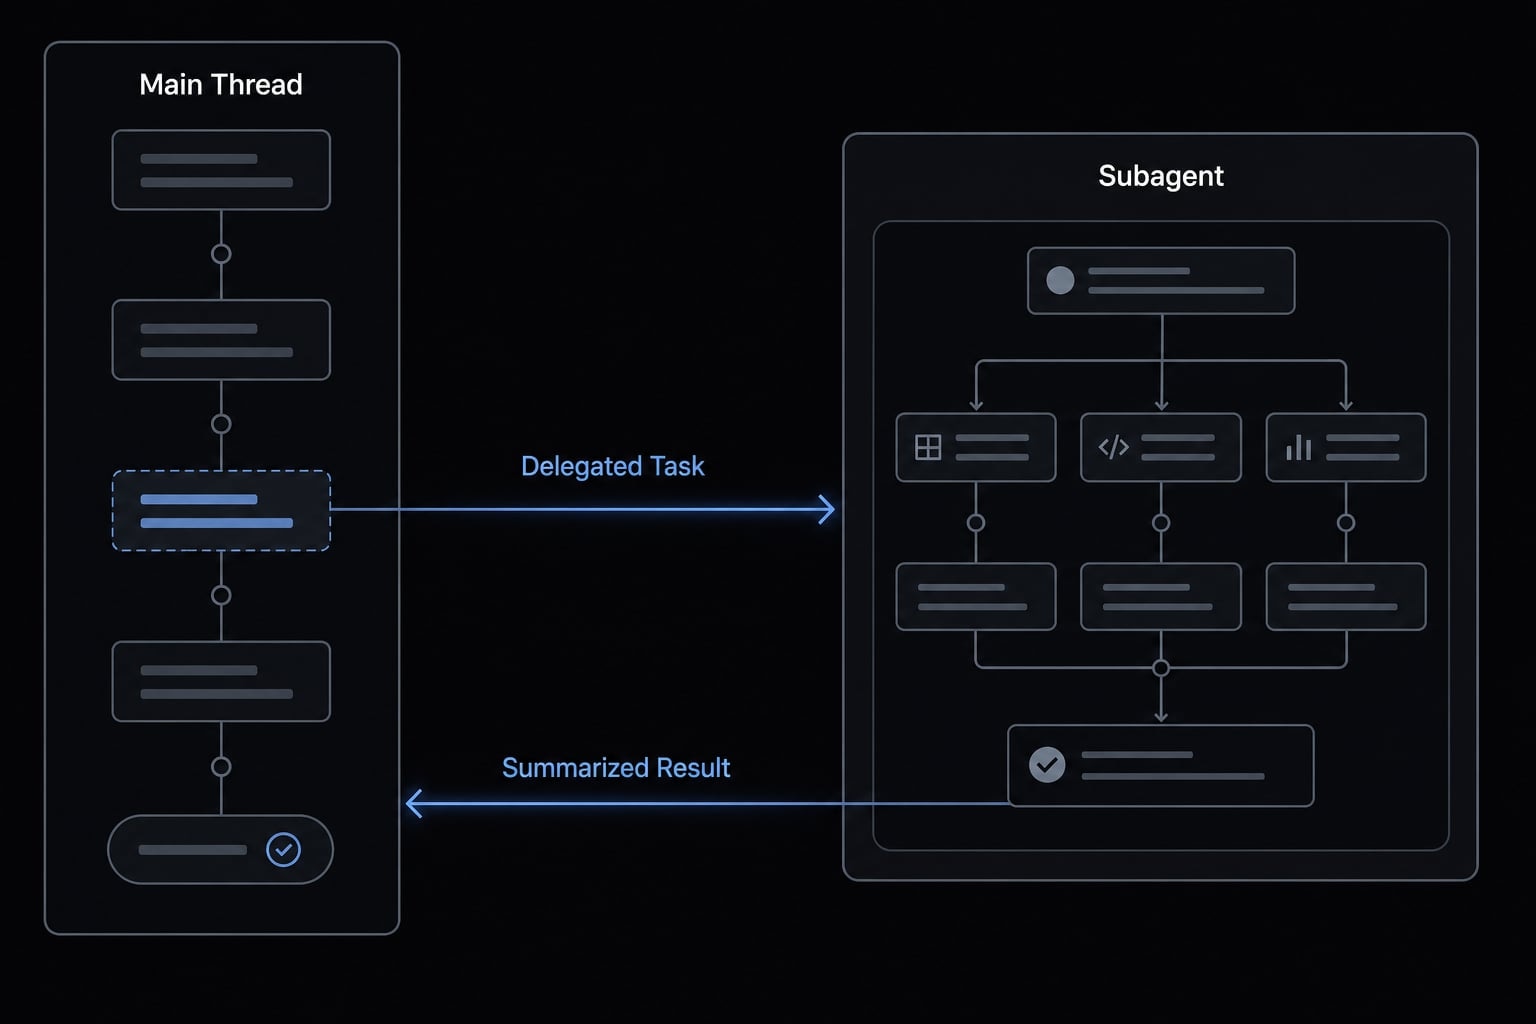
A Claude Code subagent is a specialized agent definition used for delegated tasks in an independent context window. It is useful when a task should be handled separately from the main conversation, especially if the work would otherwise flood the thread with search results, file contents, logs, or repeated instructions.
In practice, subagents are most useful when the same side task appears again and again. Instead of restating instructions each time, you define them once in a reusable subagent file. Claude can then delegate matching work to that agent with the right scope, tool access, and model behavior.
The real benefit is not abstraction. It is workflow control. Repo exploration, bug triage, code review, and docs drafting often produce a lot of intermediate output that you do not want mixed into your main planning thread. A subagent isolates that work and returns only the useful result.
Good use cases include:
- Code review for readability, maintainability, or best-practice checks.
- Repo exploration when you need file discovery and pattern tracing.
- Bug triage that requires scanning logs, stack traces, or related files.
- Docs drafting for README updates or internal technical notes.
- Repeated analysis workflows with stable instructions and repeatable output.
Do not use a subagent for every task. Simple one-off prompts usually do not need a subagent. If the job is short, obvious, and not reusable, the main agent is usually enough.
Built-in vs custom subagents
- Built-in subagents are designed for broad, default workflows and work well when Claude already understands the task pattern.
- Custom subagents are better suited for repeatable work with stable, well-defined instructions.
Use custom subagents when:
- Tool access should remain narrow and predictable.
- You want the same model choice to be used consistently across repeated tasks.
- You find yourself manually recreating the same type of worker over and over - this is a strong signal that you should define a custom subagent.
Subagents vs main agent vs fork
Option | What it is | Best use |
|---|---|---|
Main agent | Your ongoing general conversation. | Planning, coordination, broad multi-step work. |
Subagent | A reusable specialist in an independent context window. | Repeatable delegated work with defined instructions. |
Fork | A temporary side task that inherits current context. | Quick branch work without creating a reusable agent. |
Decision shortcut:
- Use a fork for temporary branch work.
- Use a subagent for reusable specialized work.
- Stay in the main agent when the task is simple and does not need isolation.
How to create your first Claude Code subagent
- Create the subagent file.
- Add minimal YAML frontmatter.
- Save it in the correct scope.
- Invoke and validate it on a real task.
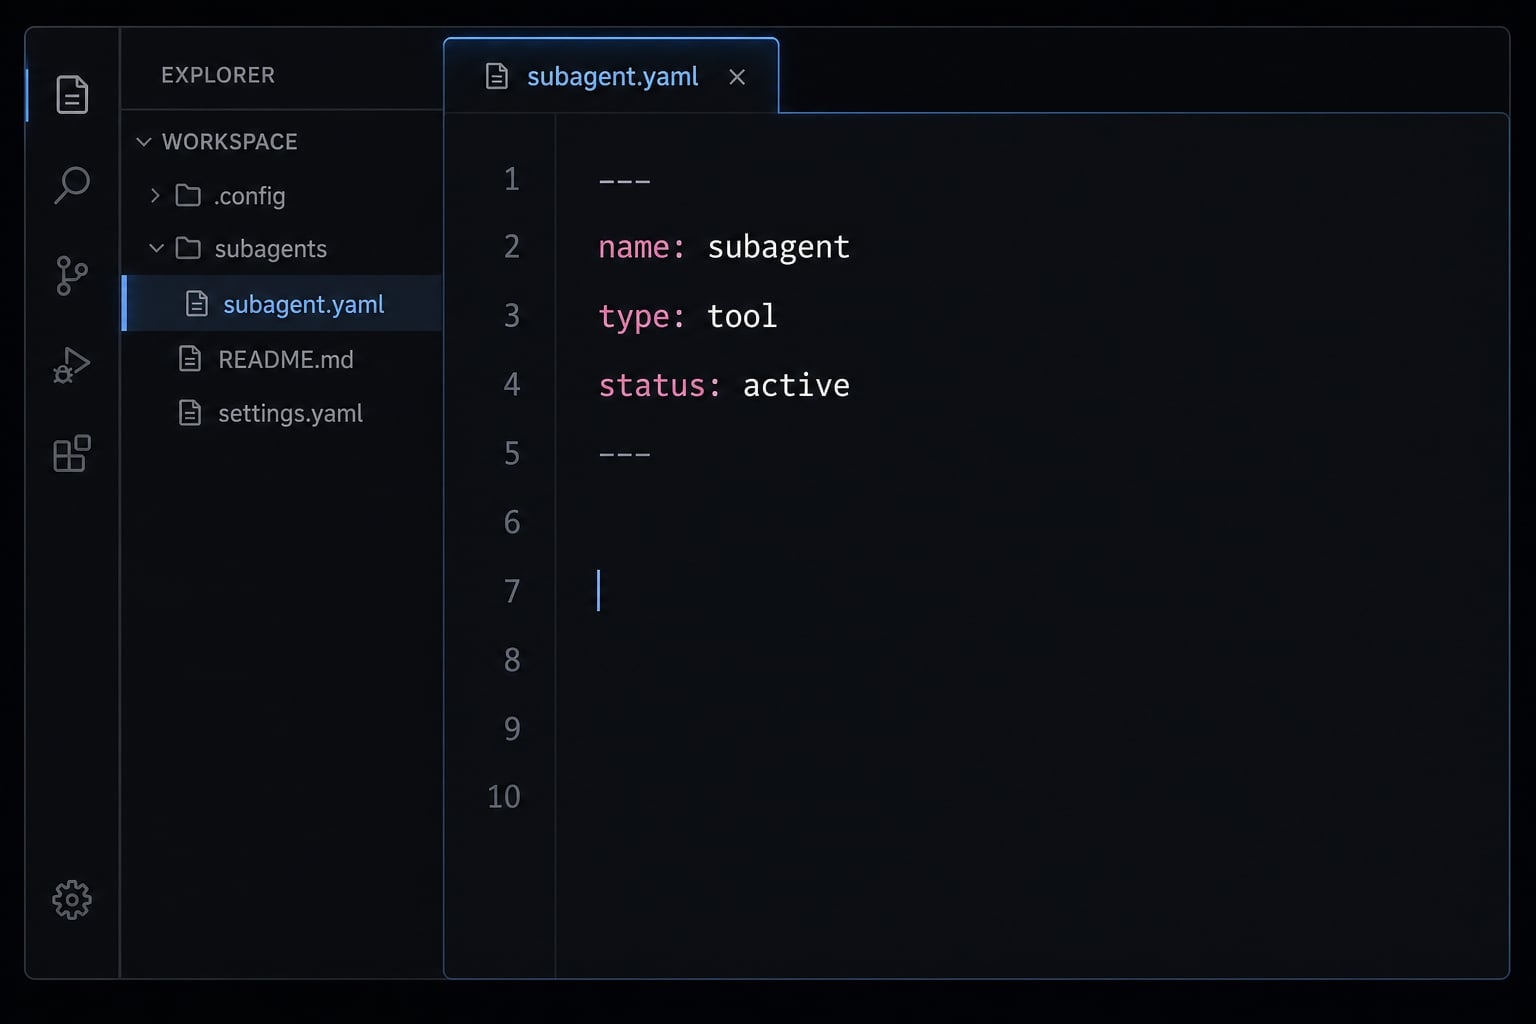
A good first setup should be small and testable. Claude Code subagents use a Markdown file with YAML frontmatter at the top. That frontmatter defines the agent name, what it does, and optionally which tools or model it should use. Most setup problems happen because users add too many fields too early.
Start with the minimum that proves the workflow works. Do not add advanced options until invocation and delegation behave correctly on a real task.
Step 1: Create the agent file
You need a subagent file saved in the correct agent directory. Give it a narrow purpose so Claude can delegate to it reliably.
Good names:
code-improverdocs-writerrepo-explorer
Bad names:
helperassistantgeneral-agent
A strong name is specific, short, and easy to map to one job. The more vague the identity, the less reliable the delegation tends to be.
Step 2: Add a minimal frontmatter template
Use this minimal working example first:
---name: code-improverdescription: Reviews files and suggests readability, performance, and best-practice improvements.tools: Read, Grep, Globmodel: sonnet---
This is enough for a first working version.
- name: The unique identifier for the subagent. Keep it lowercase, concise, and hyphenated.
- description: The instruction that tells Claude when this agent should be used. Be specific about the job.
- tools: The tool allowlist that defines what the subagent can access. Start narrow.
- model: The default model for this subagent. Use it only when you want consistent behavior instead of inheritance.
Most users do not need more than this to create custom subagents in Claude Code. If the basic version works, you can expand later.
Step 3: Invoke and validate the result
After saving the file, test it on one real task.
- Ask Claude to use the agent on a clear job.
- Check whether the task was actually delegated to the intended subagent.
- Confirm that the description is specific enough to trigger the right behavior.
- Confirm that the tools list matches the task.
- Expand only after the basic flow works.
A practical test prompt could be: “Use the code-improver agent to review this project for readability and maintainability issues.”
Where subagents live: Session, project, and user scope
Scope | Location | Best For | Notes |
|---|---|---|---|
Session-level | Passed through the | Temporary experiments | Good for short-lived testing without saving a permanent file |
Project-level |
| Repo-specific workflows | Best when the subagent belongs to one codebase or team workflow |
User-level |
| Personal reuse across projects | Best for personal agents you want available everywhere |
Where you store a Claude Code subagent determines who can use it and how reusable it is. This is one of the most practical parts of setup, and it is also where many users make avoidable mistakes.
- Use session-level subagents when you are experimenting and do not want to maintain a permanent definition yet.
- Use project-level subagents when the behavior belongs to one repository, team convention, or codebase structure.
- Use user-level subagents when the instructions are part of your personal workflow across multiple projects.
The most common setup failure is simple: Wrong file location. If the file is not in the expected scope, Claude may not find it even if the frontmatter is valid.
This scope model also helps control sprawl. If an agent only makes sense in one repo, keep it local to that repo. If it is a personal reusable assistant, keep it in your user path instead of copying it into every project.
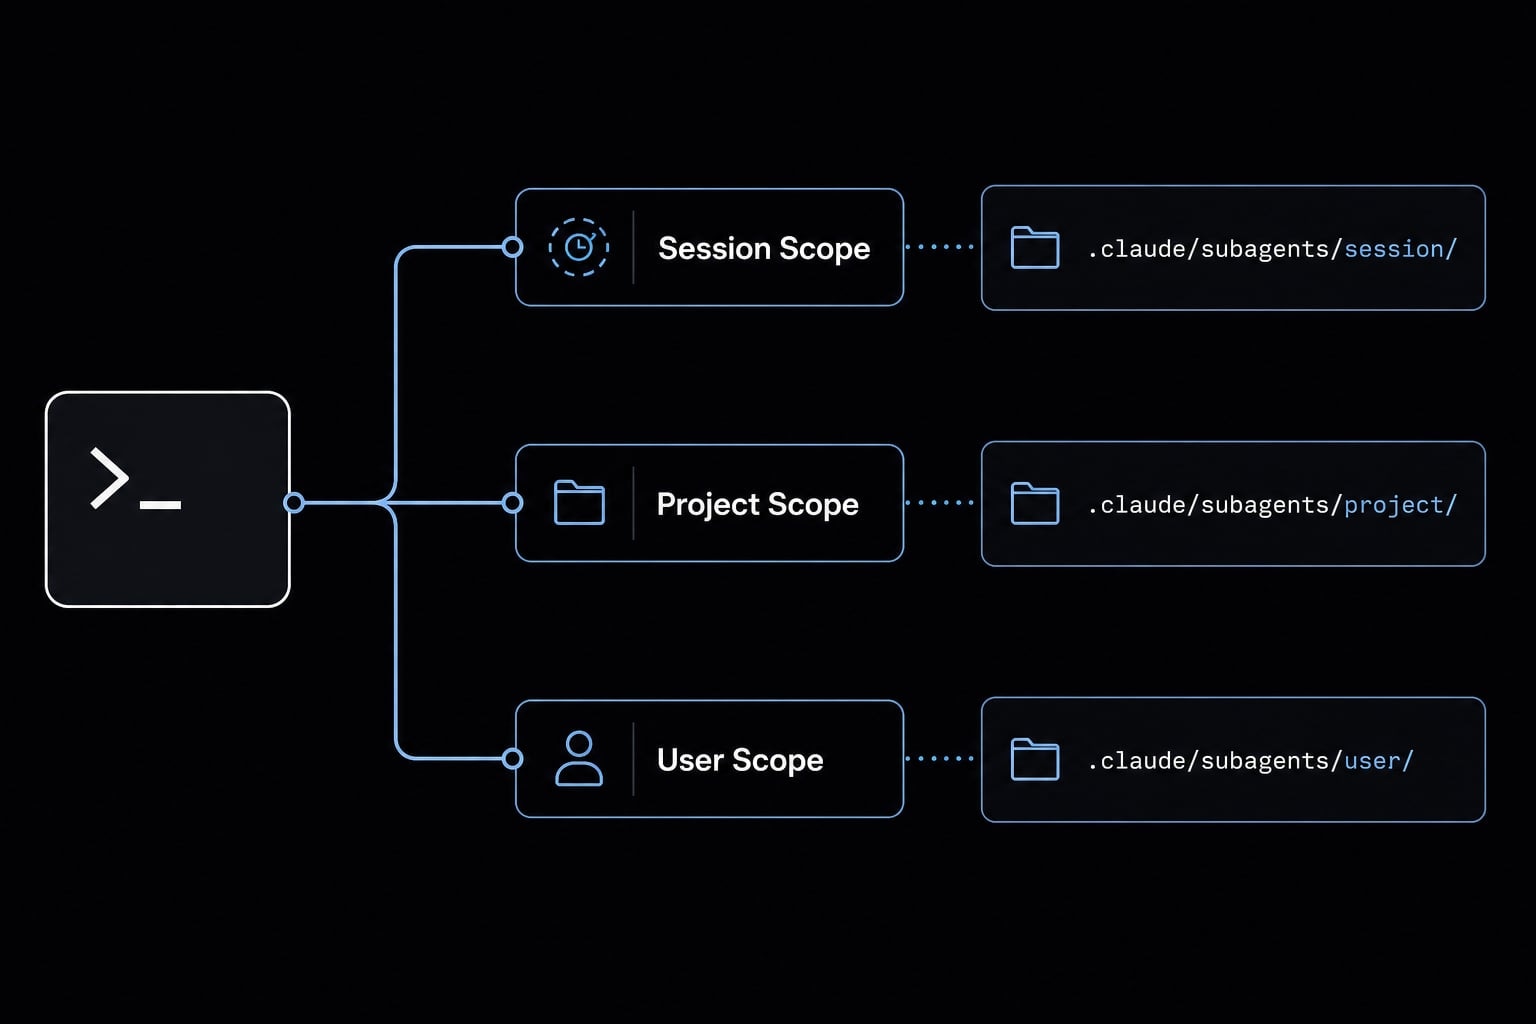
Choose the narrowest scope that matches the job.
- Session: Best for temporary experiments and quick tests.
- Project: Best for repo-specific workflows and team-shared usage.
- User: Best for personal reusable agents across projects.
If you are unsure, start with project-level subagents for repo-specific work and user-level subagents for your own repeatable habits.
Claude Code subagent frontmatter fields explained
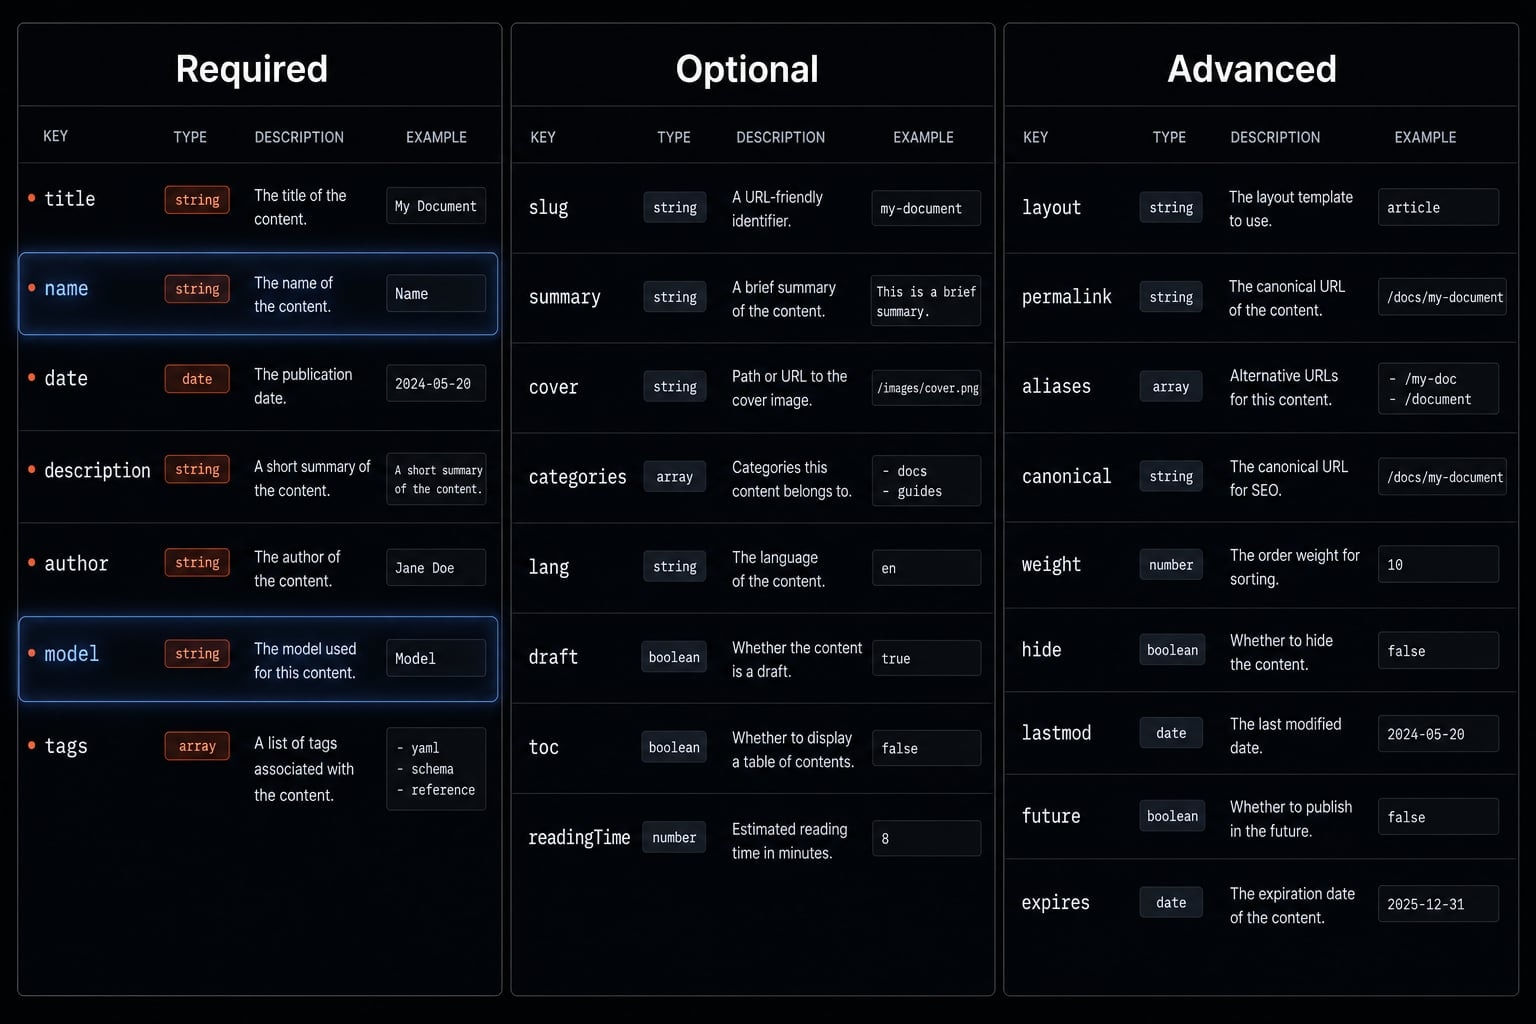
In this context, YAML frontmatter is the configuration block at the top of a subagent file. It tells Claude what the subagent is called, when it should be used, and which controls apply to it. Most users only need name, description, and sometimes tools or model.
Required fields
Field | What it does | Best practice |
|---|---|---|
name | Creates the unique identifier for the subagent. | Use a unique lowercase name with hyphens, such as |
description | Tells Claude when to select the subagent. | Describe the task clearly and narrowly so delegation is reliable. |
The required fields are simple, but they matter more than advanced settings. A weak description often causes poor delegation, even when everything else is valid.
Common optional fields
Field | What it does? | When to use it? |
|---|---|---|
tools | Defines allowed tool access. | Use when the task should stay limited to specific tools. |
model | Sets the default model. | Use when you want predictable behavior instead of inherited defaults. |
memory | Adds persistent memory scope. | Use when repeated context should survive across conversations. |
isolation | Enables isolated workspace behavior. | Use |
These optional fields are practical, not mandatory.
- tools is useful when you want a clear allowlist instead of broad access.
- model is helpful when one task performs better with a consistent default.
- memory matters only when repeated context creates real value.
- isolation is worth using when the subagent should work in a separated git environment.
For most first-time setups, you can skip memory and isolation until the basic flow is stable.
Advanced fields to know about
Most users do not need these in their first working setup.
disallowedTools: A denylist for tools the subagent should not use.permissionMode: Controls how permission prompts are handled.PreToolUse: Runs checks before a tool action.PostToolUse: Runs follow-up behavior after a tool action.
These fields are useful for tighter control, but they are awareness items, not day-one requirements.
How tools, permissions, and memory work
The control model is straightforward once you reduce it to three questions: What can the subagent use, how does it handle permissions, and should it remember anything later.
- The
toolsfield acts as an allowlist, meaning you explicitly define the tools the subagent can use. This is usually the safest starting point. ThedisallowedToolsfield works as a denylist, which is useful when you want to block specific tools without redefining the whole set. - Permission modes affect how the subagent handles permission prompts and execution behavior. The exact behavior depends on session rules and parent settings, so the practical guidance is simple: Keep permissions narrow at first and expand only when the task clearly needs it.
- Persistent memory scope is powerful, but it should be added carefully. If a subagent needs to remember stable preferences, project conventions, or repeated context, memory can help. If not, it usually adds unnecessary complexity.
Broader permissions do not automatically improve results. In many real workflows, they only increase risk and make troubleshooting harder.
A safe default setup
Use a least-privilege setup first:
- Start with read-only tools such as Read, Grep, and Glob.
- Add write or edit tools only if the task truly requires changes.
- Keep the allowlist narrow during testing.
- Avoid broad permissions until delegation works consistently.
- Expand one control at a time so failures are easy to diagnose.
This is usually enough for code review, repo scanning, documentation input gathering, and many analysis tasks.
Choosing the right memory scope
Only add memory if repeated context actually matters.
user: Best for personal preferences across multiple projects.project: Best for shared team context inside one repository.local: Best for machine-specific or environment-specific project memory.
If the subagent can do its job without remembering past state, skip memory. Simpler subagents are easier to validate and maintain.
How to invoke a Claude Code subagent
You can invoke a Claude Code subagent in several ways, but the best method depends on how certain you need the routing to be.
- The easiest option is natural-language invocation. You simply ask Claude to use the subagent for a task. This works well once the description is clear and the subagent is already behaving correctly.
- For testing or guaranteed routing, use an explicit @-mention. This is the safer method when you want to verify that a new subagent is actually running.
- You can also use a CLI flag for session-wide behavior when you want a focused work session around one agent. And if your real need is a temporary inherited-context branch,
/subtaskor fork-style behavior is often the better fit than creating a reusable subagent. - Foreground and background execution matter too. Foreground blocks the main conversation until the task finishes. Background allows work to continue concurrently. For most everyday use, the practical question is whether you want the main thread paused or not.
When testing a new subagent, prefer explicit invocation first.
Situation | Best method |
|---|---|
Routine use after setup is stable | Natural language |
Guaranteed use of a specific subagent | @-mention |
Focused work session around one agent | Session-wide agent mode through a CLI flag |
Temporary side task that should inherit current context |
|
Examples:
- Natural language: “Use the repo-explorer agent to map the auth module”
- @-mention:
@"repo-explorer (agent)" trace API route definitions - Session-wide agent: launch with the relevant CLI option for that session
- Fork-style side task: use
/subtaskwhen you want inherited context instead of a reusable specialist
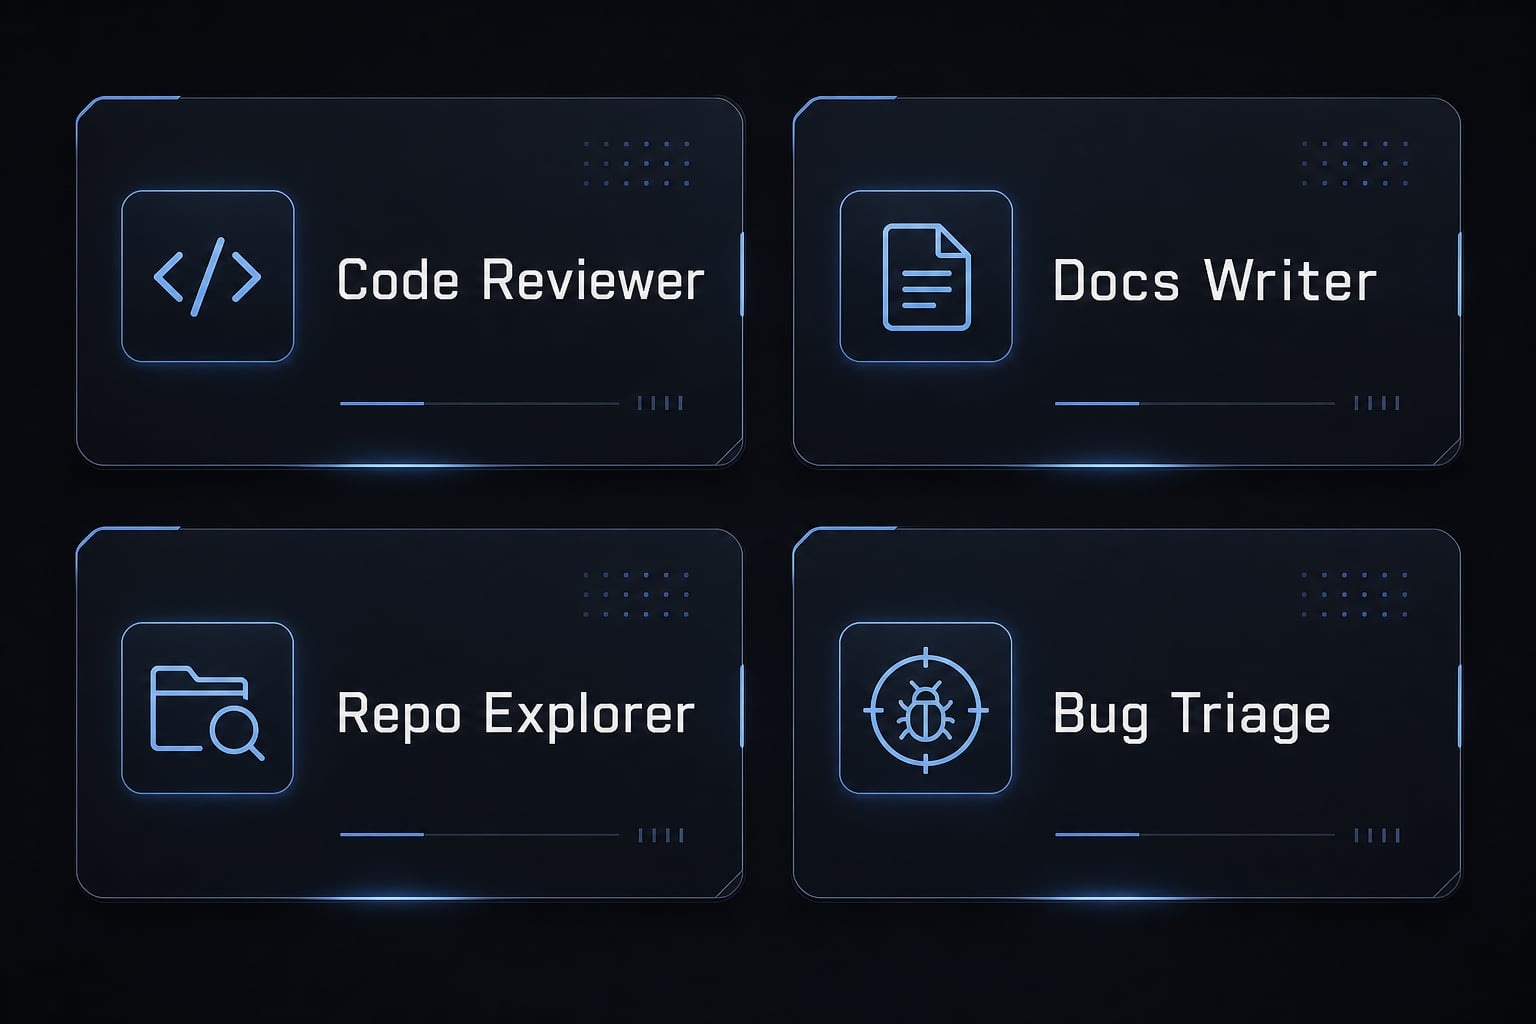
Practical example subagents you can reuse
A good first subagent should do one job well. Do not try to make one agent handle everything. Narrow agents are easier to route, validate, and maintain.
Example: Code reviewer
A code reviewer subagent is useful for scanning files or diffs and suggesting readability, maintainability, or best-practice improvements. Typical tools:
- Read
- Grep
- Glob
Why it belongs in a subagent:
- Review output can be verbose.
- It keeps improvement notes out of the main planning thread.
- Read-only tools are often enough for the first version.
Example: Docs writer
A docs writer agent converts code, feature notes, or implementation summaries into documentation. It works well for README updates, changelog support, and internal docs drafts.
Typical tools:
- Read
- Grep
- Glob
Why it belongs in a subagent:
- Documentation work benefits from stable formatting instructions.
- It isolates draft generation from code discussion.
- Repeated doc style rules are easier to define once.
Example: Repo explorer
A repo explorer is useful when you need to locate files, trace patterns, and summarize codebase structure.
Typical tools:
- Read
- Grep
- Glob
Why it belongs in a subagent:
- Broad exploration creates a lot of output.
- The main thread stays cleaner when discovery happens separately.
- It is a common repeated workflow in unfamiliar repositories.
Example: Bug triage
A bug triage subagent helps inspect logs, search related files, and summarize likely causes before deeper debugging starts.
Typical tools:
- Read
- Grep
- Glob
Why it belongs in a subagent:
- Triage often produces noise before clarity.
- It separates investigation from decision-making.
- It is useful when stack traces and file scanning would otherwise clutter the main thread.
Common mistakes and simple troubleshooting tips
When a Claude Code subagent does not work, the cause is usually basic configuration, not a hidden system problem. Start with the most likely failures first.
Quick validation checklist
- Confirm the file is saved in the correct directory.
- Confirm
nameanddescriptionboth exist. - Confirm the YAML syntax is valid.
- Confirm the tool list matches the task.
- Confirm the invocation method is correct.
- Confirm advanced fields are not introducing confusion.
Most failed setups come from invalid frontmatter, wrong file location, or a vague description that does not clearly tell Claude when to use the agent.
- If invocation fails, test with an explicit @-mention before changing anything else. That helps separate routing issues from configuration issues. If the agent runs with an explicit call but not naturally, the description is often too broad or too weak.
- Permission issues are another common cause. If the task needs file edits but the subagent only has read-only tools, it may appear broken when it is actually correctly restricted.
- Another frequent mistake is adding advanced settings too early. Hooks, denylist rules, custom permission behavior, and memory can all be useful later, but they increase debugging surface area on day one.
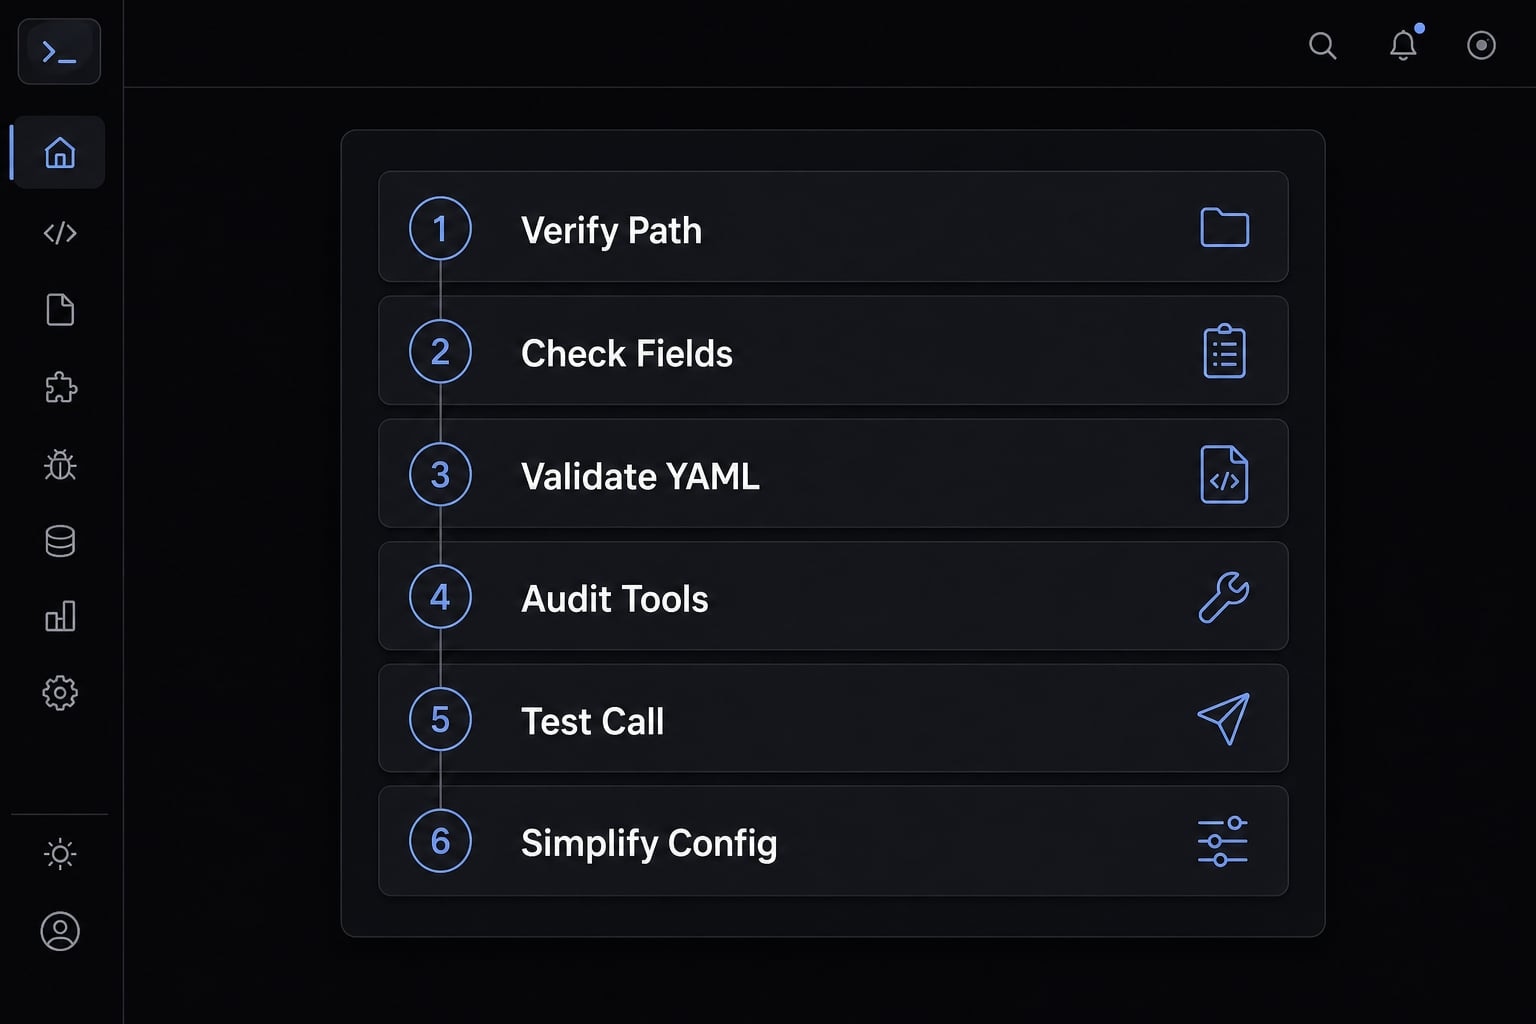
A practical troubleshooting order is:
- Check path.
- Check required fields.
- Check YAML formatting.
- Check tools.
- Check invocation method.
- Remove advanced fields and retest.
Frequently asked questions
What is a Claude Code subagent, and when should you use one?
A Claude Code subagent is a specialized AI assistant designed to handle specific tasks within a separate context window. You should use a subagent when secondary tasks would overload the main conversation or when you need to repeat specialized work using the same instruction structure.
What is the difference between a subagent, main agent, and fork?
- Main agent: The primary controller for the entire session.
- Subagent: A separate specialist with its own context for recurring tasks.
- Fork: A temporary copy that inherits the full current conversation history to complete a related task quickly.
How do you create a new Claude Code subagent?
- Create the file: Save a Markdown file with frontmatter in an agent directory.
- Configure it: Add the
nameanddescriptionfields to the YAML frontmatter. - Store it: Place the file in the appropriate scope: session, project, or user.
- Activate it: Invoke the subagent by name in the conversation or through a CLI command.
Where should you store subagent files?
- Session: Use the
--agentsCLI flag for quick experiments. - Project: Store files in
.claude/agents/to share them with other members of the same project. - User: Store files in
~/.claude/agents/for personal reuse across all your projects.
Which frontmatter fields are required?
Each subagent file requires only two fields: name, a unique identifier without spaces or diacritics that uses hyphens, and description, a detailed explanation that helps Claude determine when to delegate work to the subagent. Fields such as tools and model are optional.
Why is my subagent not working correctly?
Review the following checklist:
- Is the file located in the
.claude/agents/directory? - Is the YAML frontmatter formatted correctly?
- Is the subagent name unique?
- Is the description specific enough for Claude to recognize the relevant task?
- Did you use the correct subagent name in your request?
Can you restrict a subagent’s access to tools?
Yes. You can use the tools field to create an allowlist or the disallowedTools field to create a denylist. This supports a least-privilege workflow by ensuring that the subagent can access only the tools and data it needs.
Read more:
- Claude Code slash commands: Essential shortcuts for CLI flow
- Claude Code plugin marketplace: A guide to discover and setup
- Blender MCP with Claude Code: A secure AI scripting setup guide
Conclusion
This Claude Code subagents documentation guide comes down to a simple working model: Use subagents for repeatable specialized tasks that should run outside the main conversation, start with a minimal file, save it in the right scope, and validate invocation before adding advanced controls.
In practice, the key decisions are straightforward. Keep the description specific, choose the narrowest scope that fits, use a least-privilege tool setup, and avoid advanced fields until the base workflow works. Simple configurations are easier to trust, debug, and reuse.
For teams that want to standardize reusable subagents, packaged workflows, and coordinated multi-agent development or marketing operations, AgentKit provides a structured way to manage that complexity without rebuilding the setup from scratch.