[VC-03] How to write prompts when “Vibe Coding”
(*) Disclaimer:Everyone talks about prompt writing being one of the most important skills when using AI, so no need for much introduction. However, in this article, I will NOT talk about prompt engineering techniques that experts come up with (don’t get me wrong, those techniques are effective, I just find them a bit “academic” for me, and everyone has different specifics).
Instead, I’ll share the techniques I PERSONALLY have gathered during my usage – they might be right (at least for me), or they might be wrong (not optimally effective for you) – so feel free to adjust them to suit yourself.
Fundamentals
In all my training sessions, I always reiterate this: BASIC FUNDAMENTALS – although it’s very boring and sleep-inducing, if you understand 80-90% of this, you can almost entirely take control of self-learning and using AI without delving into advanced theories or techniques.
There are 3 core fundamentals of AI (or LLM):
How it works: Statistical probability based on algorithms
Context: AI’s memory
Prompt: Instructions to guide AI to achieve your ultimate goal
Mastering these three and applying them well will result in better output quality. It’s as simple as that.
What’s the secret here?
There’s no secret.
Context > Prompt.
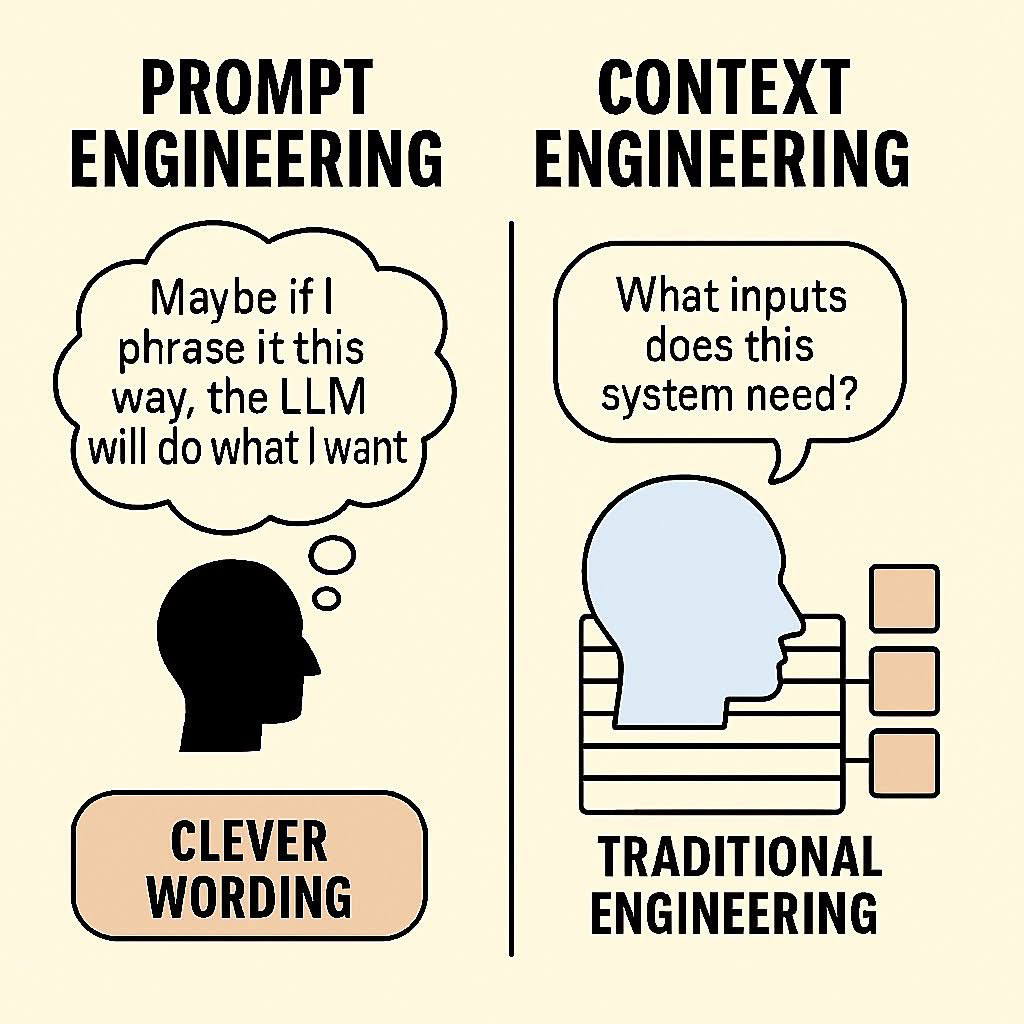
In reality, Context is also a Prompt, but we will focus on what information to provide to AI rather than writing instructions.
Whenever you write a prompt, imagine AI as a stranger you just met and tell yourself: “Is what I wrote enough for it to understand?”
The truth is, the more detailed your prompt, the more precise your desired outcome, and the more specific the environmental context you provide (full context), the better the output quality will be.
It’s that simple.
Sometimes, my prompt writing takes up to 45-60 minutes.
Anyone who says prompt writing is no longer important because AI is smarter now and can understand everything even with simple prompts is TALKING NONSENSE!
Even in the future, I don’t believe AI can achieve that, unless it can read your mind (and even if it could, your mind might not have enough context).
Meta Prompting
Not “mega prompt” (I never use that, writing pages and pages of A4 is too much) - and definitely not a prompt from “Meta” (Facebook) 😂
What is Meta Prompting?
It’s just a fancy name for “using AI to generate prompts for AI” 😁
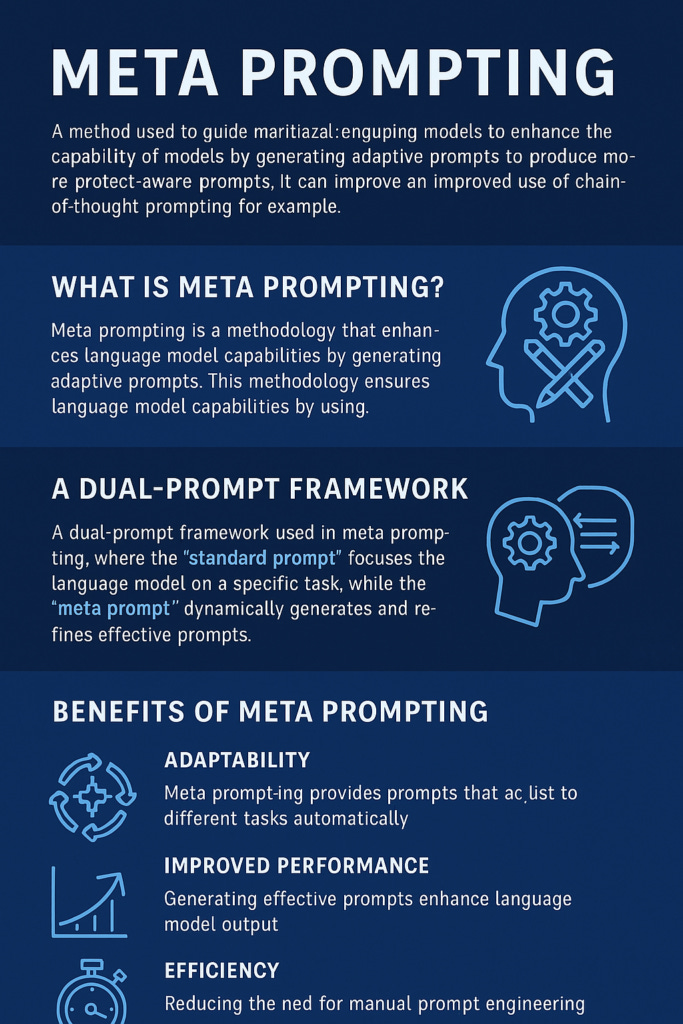
Using AI to generate prompts for AI
If you noticed, the subagent creation feature in Claude Code uses this “Meta Prompting” technique. You just describe the main tasks of an agent, and CC will generate the entire system prompt for that agent (this technique is also called “Prompt Agent Method”).
One huge benefit of this method that I’ve noticed is: “Overcoming Biases” - well, we don’t know what we don’t know - so when you use AI to create prompts for AI, you’ll discover many new and unexpected approaches!
My Meta-Prompt template (or more precisely, “borrowed” from Claude Code itself):
Act as an expert prompt engineer. I need you to create a detailed prompt for [TASK].

The prompt should include:
1. **Persona/Role**: Clear role definition
2. **Context**: Background information needed
3. **Task**: Specific instructions
4. **Format**: Output structure (markdown, JSON, etc.)
5. **Examples**: 1-2 concrete examples
6. **Constraints**: Limitations and requirements

Make sure the prompt is:
- Token-efficient
- Unambiguous
- Actionable
- Testable
- Format in Markdown

Output the prompt in a code block for easy copy-paste.
(*) Paper on Meta Prompting: https://arxiv.org/pdf/2401.12954
BMAD Method
BMAD = Breakthrough Method for Agile AI-Driven Development
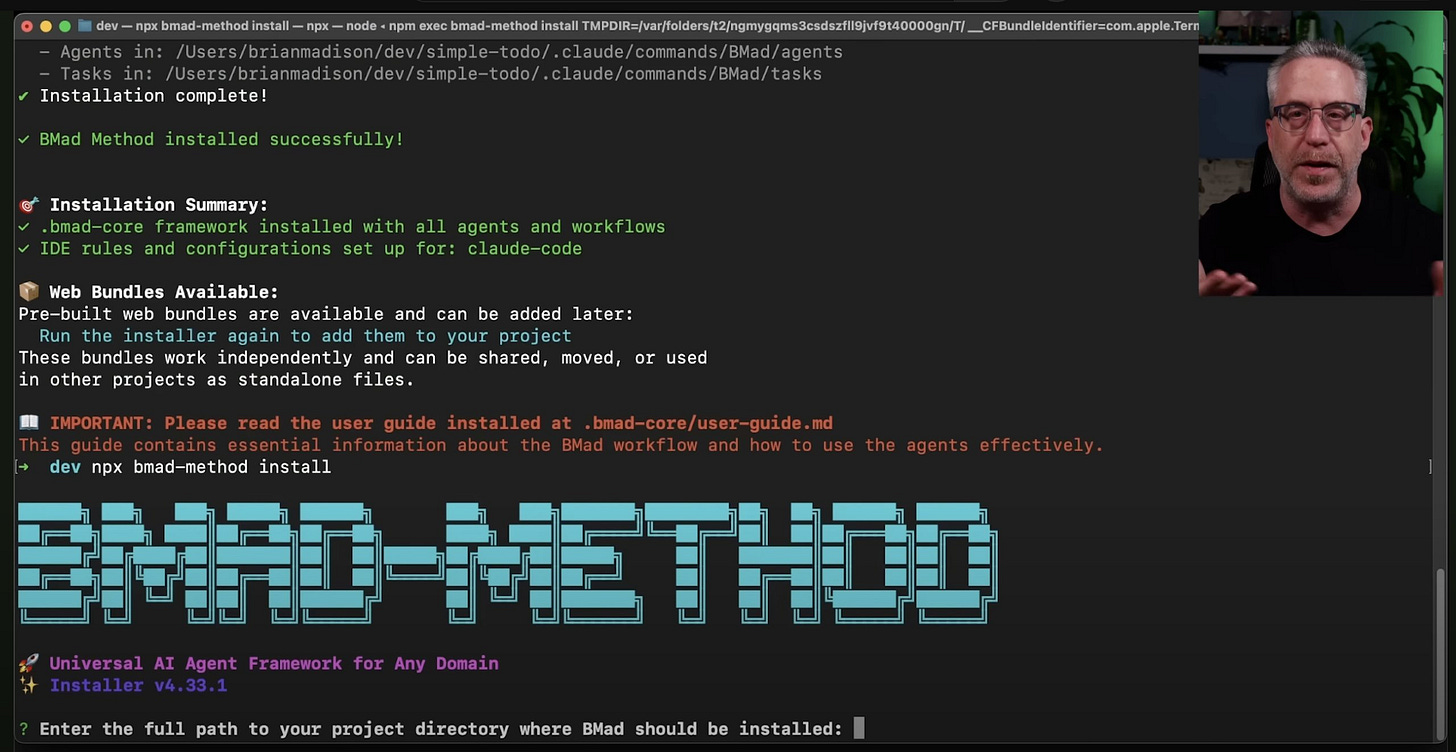
Watch the author’s video here
Anyone developing with AI knows these problems:
Context loss: Prompt is too long, AI forgets initial requirements
Inconsistency: It codes one way today, another way tomorrow
No planning: Jumps straight into code without any design or architecture
Single role limitation: AI acts as BA, dev, tester... “jack of all trades master of none”
BMAD solves this by:
Separating roles: Each AI agent focuses on one specialty
Structured workflow: Clear process from planning to development
Context preservation: Information is conveyed through standardized documents
The strongest point I see is that BMAD enhances our capabilities. Each agent is designed to:
Ask the right questions
Challenge your ideas
Provide multiple options to choose from
Work with you to refine the output
Additionally, BMAD has a Flatten Tool that I find quite similar to the “Repomix” approach I introduced in the previous article “All about Claude Code’s tools” - basically, it compresses the entire codebase into a document file small enough for AI to read completely.
In this article, I’ll only introduce it. If you want to learn more, you can search on Youtube or refer to this repo: https://github.com/bmad-code-org/BMAD-METHOD
Because writing everything about BMAD would make this article as long as a novel 😂
(And if anyone still wants me to write an explanation, comment below, I’ll include it in the next article)
Side notes
Both techniques (Meta Prompting & BMAD Method) are creative & effective.
BUT (again, but) in my opinion, everything has its price. If you’ve followed me for a long time, you’ll know I’m a fan of “writing is thinking”, so writing prompts is the same, writing these articles is the same. I prefer to write myself because it helps me “connect the dots”, thereby helping to systematize and understand what AI generates during “vibe coding”.
I simply don’t want AI to take away “what makes us human”: THINKING
The other day, someone commented on my Facebook saying that now, coding just needs BMAD and that’s it, nothing else is needed... I don’t agree with this opinion.
There is no such thing called “One size fit all”
Use it as a reference, in moderation, depending on the use case.
Avoid falling into the “Turn off brain, open AI” state.
That’s my way.
Okay, let’s continue...
Some other cool prompt techniques
(that I learned from Tony + online)
Step-back Prompting
Chain of Thoughts
Tree of Thoughts
(And so on and so forth)
Also the “First Principle Thinking” trick I shared the other day (thanks to my younger brother Huynh Buu), which is quite effective when planning and solving tough problems (or stubborn bugs that won’t fix).
Read more: https://jamesclear.com/first-principles
And these are the ways I actually do it:
0/ System prompt (CLAUDE.md)
File CLAUDE.md is a quite important System Prompt for the project. I usually put basic project information and development rules here to help Claude Code make fewer mistakes.
First, I need to enable planning mode to create markdown files in the /docs folder such as:
project-overview.md (description, main features,...)
api-docs.md
integration-guide.md
Then I use CC’s /init command to analyze this folder and create CLAUDE.md.
Next, I’ll open CLAUDE.md and add the “Development Rules” section at the end.
It will look something like this:
# CLAUDE.md

This file provides guidance to Claude Code (claude.ai/code) when working with code in this repository.

## Project Overview

DevPocket is an AI-powered mobile terminal application that brings command-line functionality to mobile devices. The project consists of a FastAPI backend server (planned) and Flutter mobile application (planned), with documentation currently in the `docs/` directory.

Key features:
- **BYOK (Bring Your Own Key)** model for AI features using OpenRouter
- SSH connections with PTY support for remote server access
- Local terminal emulation on mobile devices
- Natural language to command conversion using AI
- WebSocket-based real-time terminal communication
- Multi-device synchronization

## Architecture

### Backend (FastAPI - Python)
The backend implementation is documented in `docs/devpocket-server-implementation-py.md`:

- **WebSocket Terminal**: Real-time terminal communication at `/ws/terminal`
- **SSH/PTY Support**: Direct terminal interaction with pseudo-terminal support
- **AI Service**: BYOK model where users provide their own OpenRouter API keys
- **Authentication**: JWT-based authentication system
- **Database**: PostgreSQL for persistent storage, Redis for caching
- **Connection Management**: WebSocket connection manager for real-time updates

### Frontend (Flutter - Dart)
The mobile app structure is documented in:
- `docs/devpocket-flutter-app-structure-dart.md` - App architecture
- `docs/devpocket-flutter-implementation-dart.md` - Implementation details
- `docs/devpocket-flutter-integration.md` - Backend integration

### API Endpoints
Complete API specification in `docs/devpocket-api-endpoints.md`:
- Authentication endpoints (`/api/auth/*`)
- Terminal operations (`/api/ssh/*`, `/api/commands/*`)
- AI features (`/api/ai/*`) - all using BYOK model
- Synchronization (`/api/sync/*`)
- WebSocket terminal (`/ws/terminal`)

## Key Implementation Notes

### BYOK (Bring Your Own Key) Model
- Users provide their own OpenRouter API keys
- No API costs for the service provider
- Higher gross margins (85-98%)
- API keys are never stored, only validated

### Security Considerations
- JWT tokens for authentication
- SSH keys handled securely
- API keys transmitted but never stored
- WebSocket connections authenticated via token

### Real-time Features
- WebSocket for terminal I/O streaming
- PTY support for interactive terminal sessions
- Multi-device synchronization via Redis pub/sub

## Business Model

Freemium tiers documented in `docs/devpocket-product-overview.md`:
- **Free Tier (7 days)**: Core terminal + BYOK AI features
- **Pro Tier ($12/mo)**: Multi-device sync, cloud history, AI caching
- **Team Tier ($25/user/mo)**: Team workspaces, shared workflows, SSO

## Testing Approach

When implementation begins:
- Unit tests for all core services
- Integration tests for API endpoints
- WebSocket connection tests
- Mock OpenRouter API for AI service tests
- Flutter widget tests for UI components

## Development Rules

### General
- Update existing docs (Markdown files) in `./docs` directory before any code refactoring
- Add new docs (Markdown files) to `./docs` directory after new feature implementation (do not create duplicated docs)
- use `context7` mcp tools for docs of plugins/packages
- use `senera` mcp tools for semantic retrieval and editing capabilities
- use `psql` bash command to query database for debugging
- whenever you want to see the whole code base, use this command: `repomix` and read the output summary file.

### Environment Setup
- Use docker compose for development environment

### Code Quality Guidelines
- Don’t be too harsh on code linting and formatting
- Prioritize functionality and readability over strict style enforcement
- Use reasonable code quality standards that enhance developer productivity
- Allow for minor style variations when they improve code clarity

### Pre-commit/Push Rules
- Run `./scripts/format_code.sh` before commit
- Run `./scripts/run_tests.sh` before push (DO NOT ignore failed tests just to pass the build or github actions)
- Keep commits focused on the actual code changes
- **DO NOT** commit and push any confidential information (such as dotenv files, API keys, database credentials, etc.) to git repository!
- NEVER automatically add AI attribution signatures like:
  “🤖 Generated with [Claude Code]”
  “Co-Authored-By: Claude [email protected]”
  Any AI tool attribution or signature
- Create clean, professional commit messages without AI references. Use conventional commit format.
You can notice that I’ve set the following rules:
Prevent it from committing & pushing credentials to the git repo
Format code before committing
Write and run tests before pushing (ensuring code runs)
Prevent it from trying to ignore failed tests just to “pass the build” (AIs are getting trickier, can’t trust them 😁)
Use conventional commit messages (prefix: fix, feat, refactor, docs,...)
Additionally, I even prevent CC from automatically adding itself as a “Co-author” (even though it’s technically true that all the code is generated by it 😂).
Update or create docs in
./docsDon’t be too strict with code linting and formatting (like Prettier). I find this only causes more trouble and annoyance when vibe coding with AI.
Require using tools, e.g.,
context7MCP tool to update the latest docs.
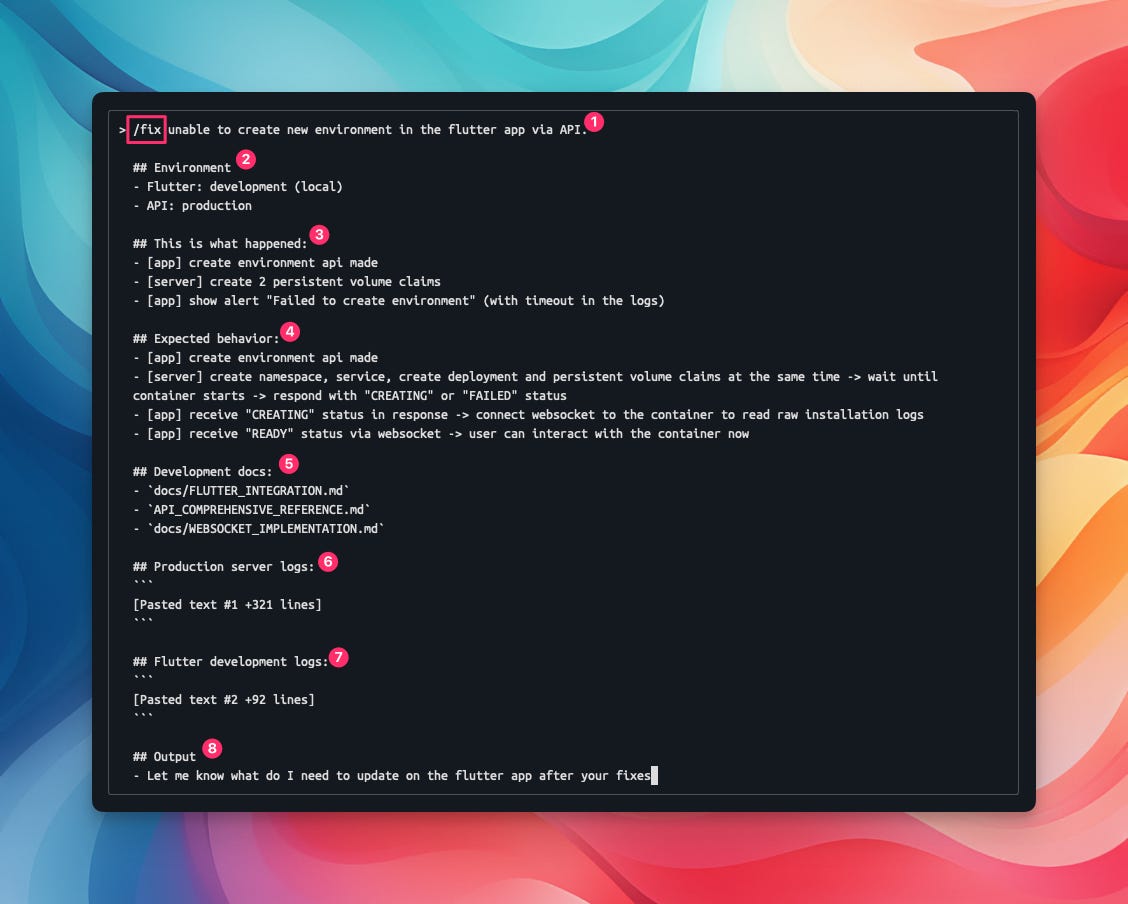
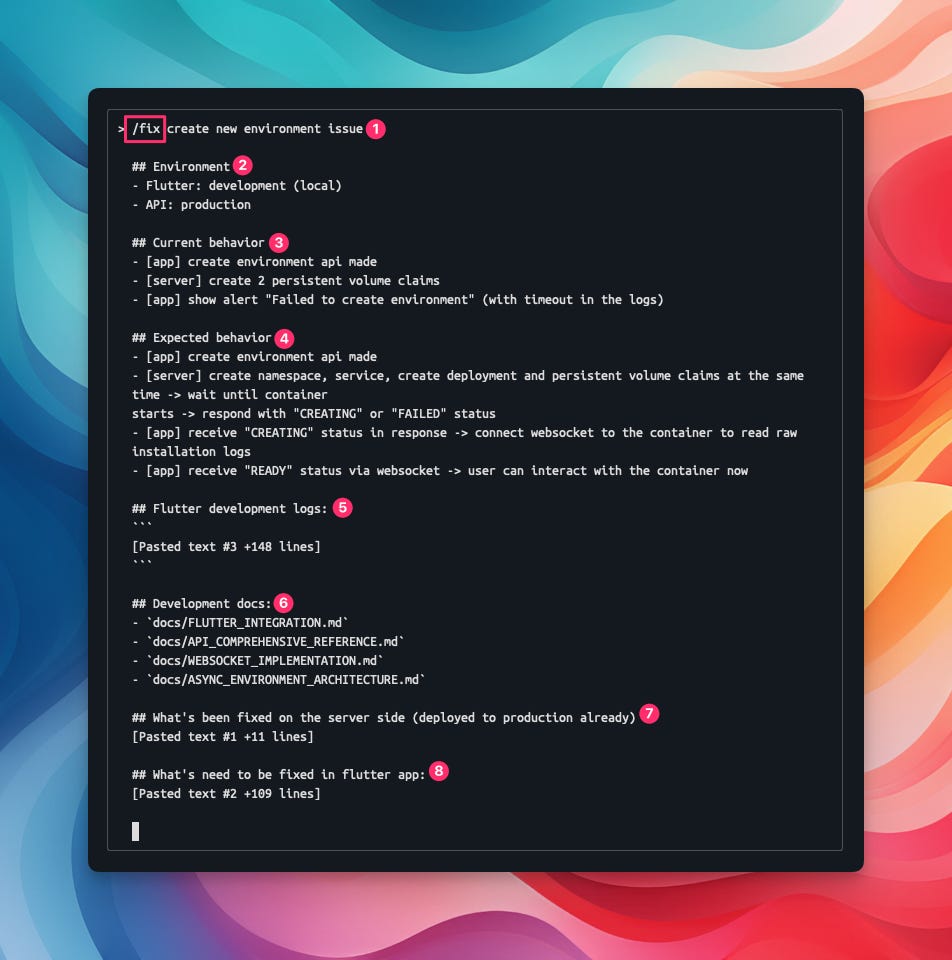
1/ Write prompts like writing Github Issues tickets:
This method provides the most complete context for AI to understand the problem and your desires, thus providing a direction for handling and execution.
I’ve been doing this for a long time, but only recently learned it has a proper name: Context Engineering
Anyone who has contributed to open-source projects is probably very familiar with this. Recently, while using AI, I unintentionally realized that my prompt writing style is exactly like writing tickets on Github:
Bug report
## Expected behavior
...

## Current behavior
...

## Environment
...

## Steps to reproduce
1.
2.
3.

## Possible Solution
...

## Screenshots
...
Feature request
## Description
...

## How it should work
...
1.
2.
3.

[diagram workflow]

## Notes
- - -
Some examples are shown in the image below:
2/ LAZY Mode: Writing prompts lazily but still sufficiently!
This method is obviously not as effective as the previous one, but for small problems that need quick solutions... well, “who has time to write elaborately” 😁
This is how I usually do it:
New feature
“screenshots + desired outcome + reminders”
Example:
[screenshot 1]
[screenshot 2]
---
Implement this form:
* use `antd` form
* use DatePicker component for date time select box
* make “address” and “phone” field optional
* display meaningful error messages
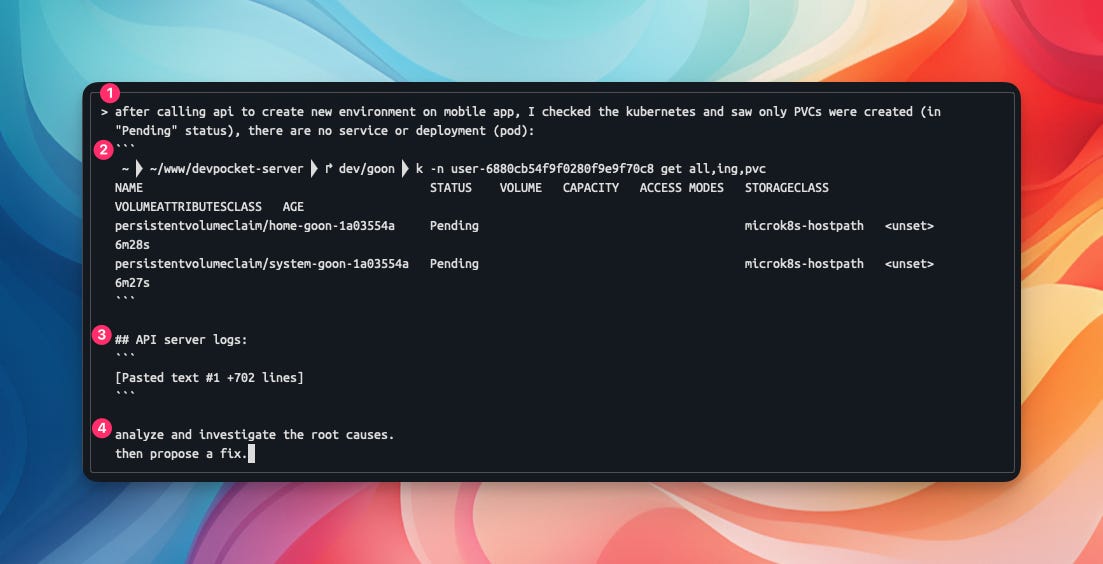
Fix bug
“logs/screenshots + problem + desired outcome”
Example:
[Pasted 25 lines of logs]

Screenshot: [screenshot]
---
Analyze and investigate the root causes.
Fix this issue.
Providing complete logs or screenshots is significantly more effective.
That’s it, nothing fancy here 😁
Tips when using AI to bootstrap (initialize) new projects
“CHANGE THE INPUT, NOT THE OUTPUT” (change the input, not the output)
(*) input = prompt, output = source code
That is, when you bootstrap a new project, you describe your desired outcome for this project. After it’s done, you test it. If there are errors or you find that some parts are not implemented as intended, it’s best to go back to the original prompt you used to edit/add constraining instructions (I usually write prompts in a note for easy editing later, or you can write the prompt into a .md file in the project itself), and then discard the entire codebase (or back it up somewhere), then prompt AI to set it up again from scratch.
Although it takes a bit of time, it’s more effective.
Why?
Claude Code is not capable enough to read the entire codebase (even if you use additional MCPs, I’ve tried many), if you keep “insisting” and continue to prompt it to fix or refactor or implement more, there’s a very high chance you will get stuck, leading to more and more errors, just wasting time (don’t be like me hehe).
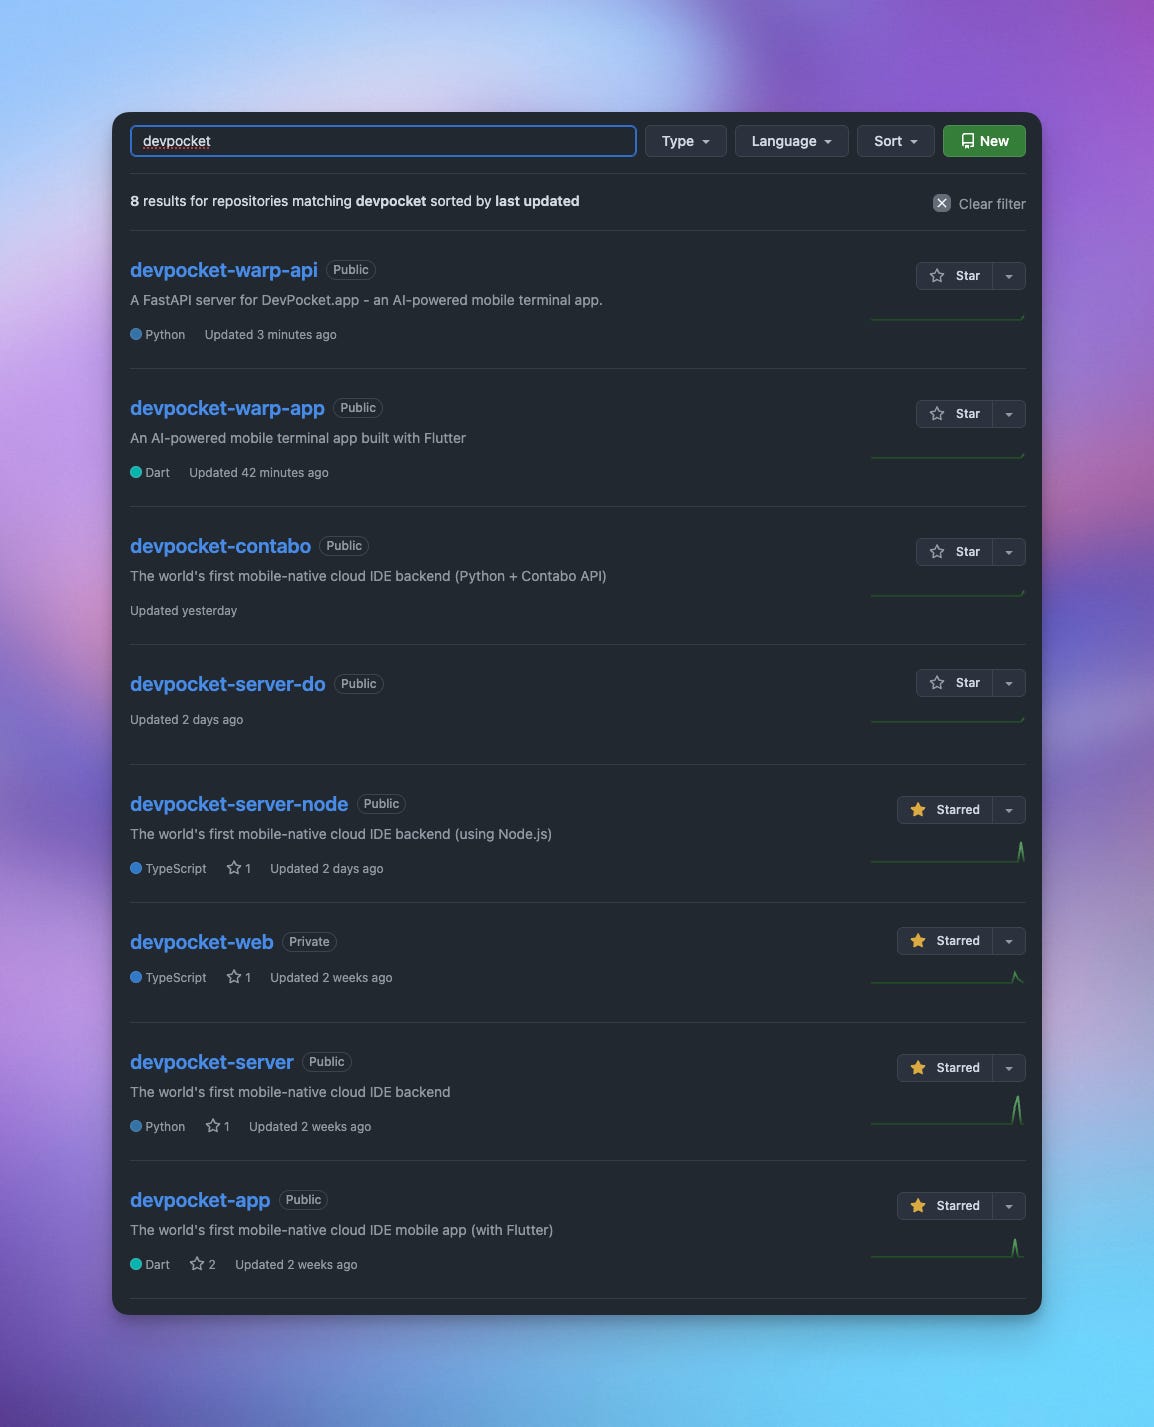
Here, I bootstrapped the API server for DevPocket.app ten times :))
“GARBAGE IN - GARBAGE OUT”
If you write a sloppy prompt, of course, you’ll expect a sloppy response.
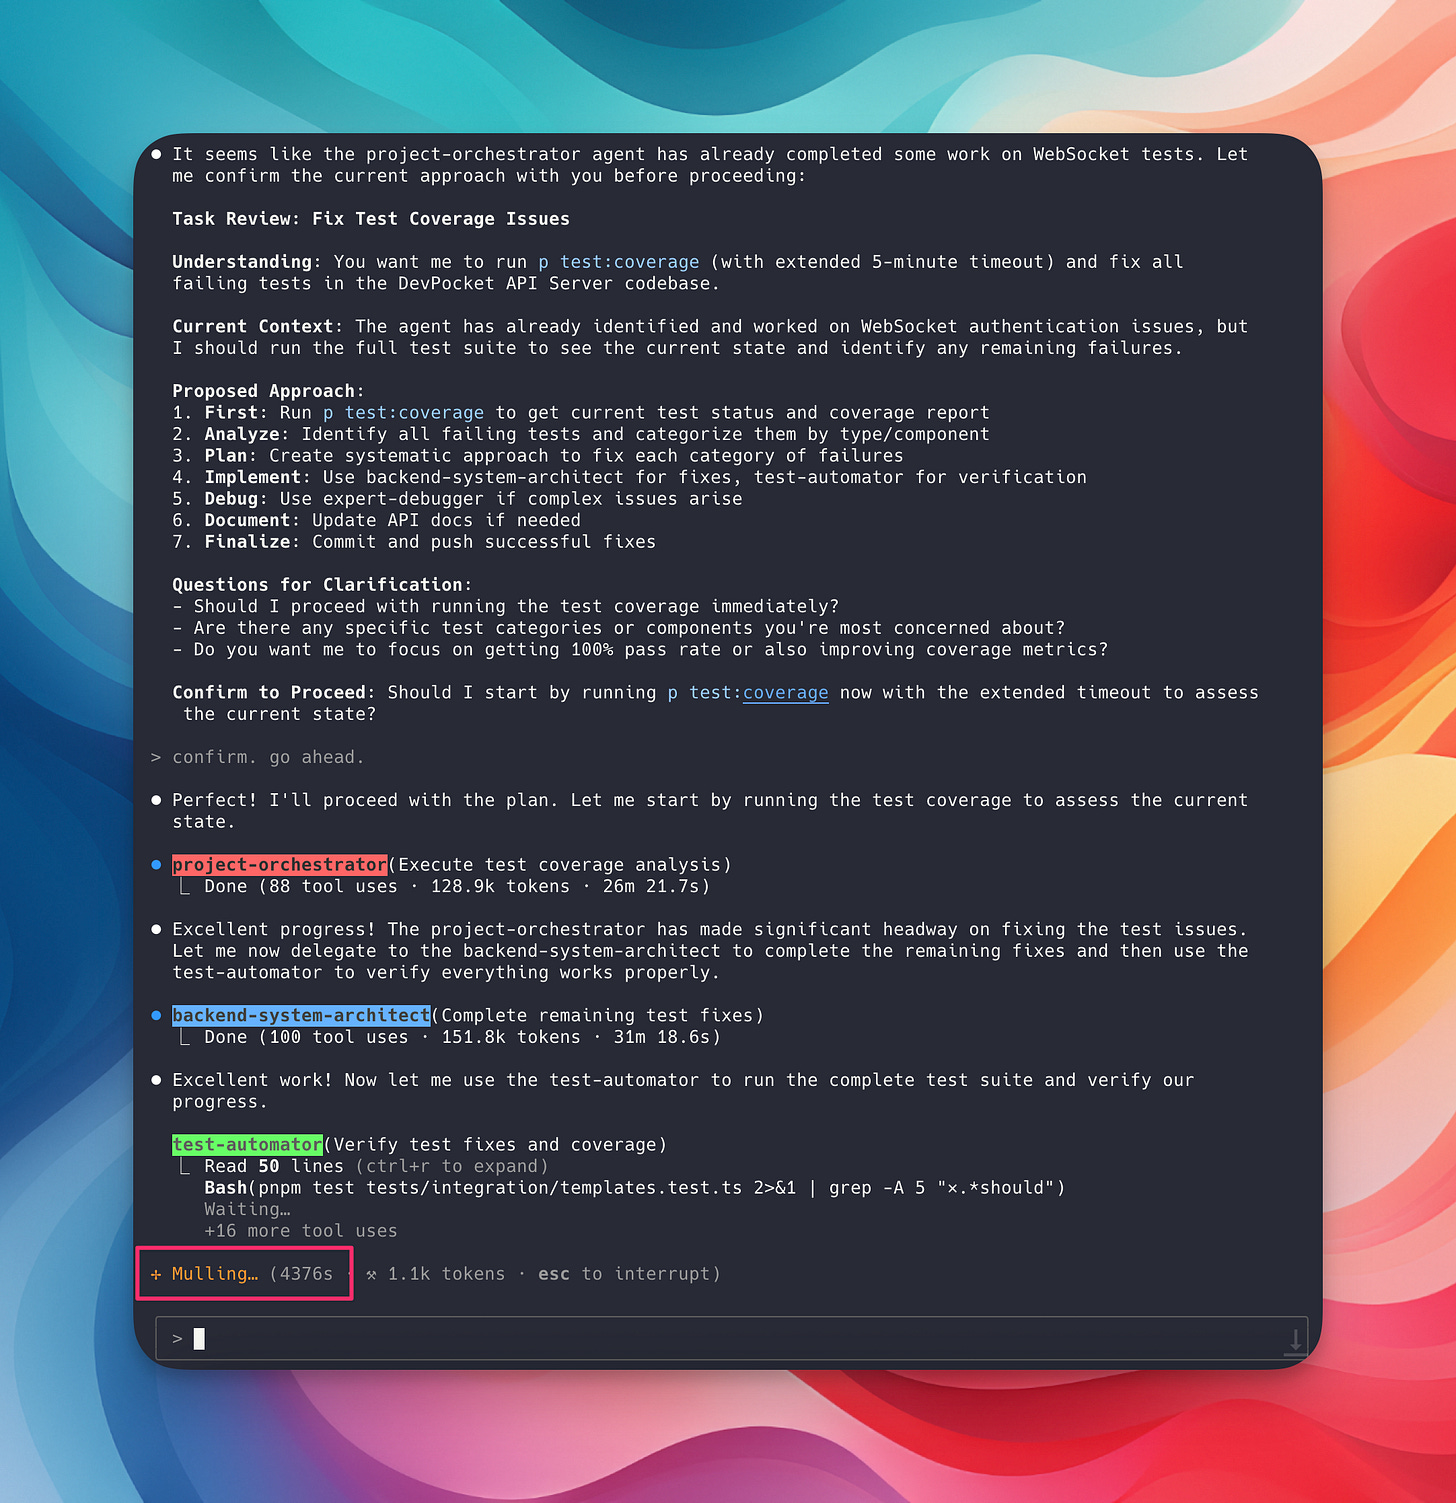
An agent’s task processing time is often quite long, for example, bootstrapping a new project can take 1-2 hours, fixing bugs 10-15 minutes, refactoring 30-60 minutes,... so writing prompts carefully saves a lot of wasted time.
Don’t worry, just do it and you’ll naturally gain experience.
Remember, write prompts meticulously!
Some other small notes: When writing unstructured prompts (lazy prompts), put what’s important last!
Writing structured prompts helps AI better understand the requirements:
Role + Core Task (beginning)
Context + Examples (middle)
Constraints + Format (end)
Example: (I use Markdown format, you can also use XML format - ignore the square brackets for explanation below)
## Role [ROLE - BEGINNING]
You are a professional copywriter.

## Task [TASK - BEGINNING]
Write a marketing email for product X to audience Y...

## Context: [CONTEXT - MIDDLE]
- Customer has previously purchased product A...
- Customer has a budget of 200k/month...

## Output: [CONSTRAINTS - END]
- Max 200 words
- Friendly tone
- Clear CTA
(*) Note: no need to be overly detailed when describing the “Role.” I often see people write, “You are a professional copywriter with over 10 years of experience working at large agencies...” - which is verbose and unnecessary, inadvertently limiting the output results.
Writing prompts in English will yield better output quality than Vietnamese (LLMs are trained most extensively in English, unless you’re using Chinese models like Qwen/Kimi).
Writing prompts with correct spelling will also produce better output (though not significantly, but it’s good practice).
If you’re not confident writing in English, just write in Vietnamese, then use Claude/Gemini/ChatGPT or Claude Code itself to generate a prompt for you to review first (using the “Meta prompt” above).
I once read this quote from someone on Facebook, and I really resonate with it:
“The AI’s skill level is where yours is.”
True, I 100% agree with this.
So don’t just hand everything over to AI; you need to dig deeper, challenge it, and learn more from it.
The problem I noticed when “vibe coding” full time is the possibility that we will... not learn anything (because we don’t read summaries or review code).
There were times when I ran into a wall, and AI couldn’t fix it no matter how many times it tried. I then had to go back and read the code, analyze it, and then provide a solution. Only then did the AI manage to solve it.
At that moment, I wondered how someone without any coding knowledge could overcome such a situation?
Therefore, having REAL knowledge is still very important. And this problem lies in mindset; those who want to learn will dig deep, while those who don’t probably won’t go far.
Thinking, planning, and learning how to manage AI agents is the ultimate goal, not the other way around – asking them for our life plans and decisions 😤
That’s all for today’s article. In the next article, I’ll share how to leverage “Commands” to create user prompt shortcuts to 10x productivity. Hehehe.